Tag Archive for: Education

Honey Do’s and Don’ts

Tips for Purchasing Honey

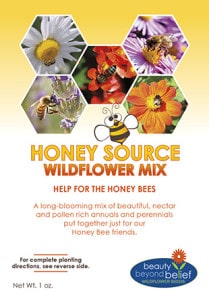
By Engrid WinslowHoney Source Wildflower Mix. Purchasing Honey
In order to produce 1 pound of honey, bees will visit approximately 2 million flowers. An average hive of bees must fly 55,000 miles to produce a pound of honey. One bee colony can produce 40 to 100 pounds of honey per year. The average foraging bee makes about 1/12 teaspoon of honey in its lifetime.

When you consider these facts, it is truly a miracle that honey is so well-known and widely used. The very first origins of keeping bees and honey is not known but there are drawings from early Egypt depicting the practice. Honey was called “The Tears of Re” (Re, also referred to as Ra, was the Egyptian Sun God).

Honey bee colonies tended by a beekeeper often produce more honey than they need to survive during the cold winter months when there are no blooms. A responsible beekeeper harvests only the extra which is produced in a “honey super”. These are smaller boxes on top of the two brood boxes separated from the hive by a “Queen Excluder”. No brood is raised there and the bees fill it up with excess honey.

Buyer beware if you are purchasing honey in large jugs at a steeply discounted price. Imported honey is often only a small percentage of honey and a large portion of it is actually sugar syrup. Buy from a local beekeeper, if at all possible. If you don’t know one, check out Farmer’s Markets, fruit stands, small locally owned grocery stores or cheese shops. You can also look for a local beekeepers association and contact them.

Always purchase unrefined honey which has not been heated over 100 degrees and is filtered through a fine-mesh strainer. All honey will crystallize over time, some much sooner than others. How you treat the crystalized honey is up to you, but to retain the beneficial properties, warming the container in hot water is the best way to go. Creamed honey is honey that has been pre-crystalized using a starter with controlled, very-fine crystals. Most beekeepers who produce honey to sell are familiar with how to produce creamed honey.

Honey has been used for centuries as a throat-soother for coughs and colds and to treat topical injuries, particularly burns and scrapes. It has also been used to treat animals suffering from “road rash” and in patients with foot problems caused by diabetes or those who suffer from ulcers. There is also strong evidence that honey taken at bedtime regulates blood sugar and causes more restful sleep.

Many believe (yours truly included), although there is no medical evidence, that a spoonful of unrefined honey daily will cure, or at least minimize seasonal allergy symptoms. The more local the honey is, the better because the honey contains small amounts of pollen from your particular area. Honey from Boston may not be as beneficial for someone who lives in Los Angeles.

Bees generally forage in a 2-mile radius but may go up to 5 miles to reach pollen and nectar sources. You can help your local honeybee population by not using pesticides and by planting flowers for pollinators such as our Honey Source or Bee Rescue mixes.

Most honey produced by a local beekeeper will be wildflower honey, meaning a mixture of whatever is in bloom.  Varietal honeys such as orange blossom or lavender require that many acres of those crops must be grown near the beehives and the honey supers pulled off the hives when the bloom season is over.

It is a lot of fun to try purchasing honey of varietal kinds of honey and notice their smells and flavors. The honey from my hives tastes different every year but is always delicious. Last year I noticed an apple flavor in it which makes sense because I live in an area with many apple and crabapples nearby.

If you want to know more about honey, check out these past blog posts: www.bbbseed.com/april-happenings-in-the-honeybee-hive/, www.bbbseed.com/whats-happening-in-the-honeybee-hive-as-winter-starts-to-close-in, www.bbbseed.com/20532-2/, and www.bbbseed.com/product/honey-source-mix/



Worms in my Kitchen?

Composting Indoors

by Cheryl Soldati Clark

What is Vermiculture?

Vermiculture is more than just a funny word, it is the process of using worms to decompose food waste.  The worms turn the waste into nutrient-rich material that will ensure healthy & happy plant growth. It is nature’s way of recycling! This method is a sustainable way to save energy, water, landfills and it reduces the need for synthetic fertilizers. You can feel good about not throwing your kitchen scraps down the kitchen disposal or contributing to the over-crowding of our landfills. You can even have a worm bin indoors without any odor or mess!

How to Get Started on Your Indoor Worm Bin…

You Will Need:

Cardboard (Optional) – Can be used to cover bedding to lock in moisture
Rubbermaid or Wooden Container with Lid – Recycled containers work great, just make sure that they have never been exposed to chemicals. A 1’x2’x2’ bin can hold kitchen waste from families of 2 people. A 1’x2’x3’ bin can hold kitchen waste from families of 4 to 6 people. You don’t want a very deep bin because worms feed in the top layers of bedding.
Bedding (Newspaper) -Black ink on newspapers is made of Carbon and oils and is not toxic to worms. Colored ink should not be used.
Yard Waste (Optional) -Decaying leaves from your yard makes a great composting material to add to your worm bin.
A handful of Soil – Provides the grit that worms need to break down food in their gizzards because they don’t have teeth.
Red Wiggler Worms – Number of worms depends on your daily food waste. One pound of worms can eat ~3.5 lbs. of waste per week.
Moisture – To wet down your bedding & worms also need moisture in order to breathe.

Step by Step Instructions:

Step 1:

Use a drill or hammer & nail to poke 1/8-1/4” air holes in your bin 1 inch apart. You want some holes on the bottom for drainage, on the lid of the bin and along the top of the four sides. Make sure to raise the bin on bricks or wooden blocks with a tray underneath to catch the excess liquid that can be used as a liquid fertilizer for your plants.

Step 2:

Shred newspaper (black & white ONLY) into 1-inch strips. Moisten strips and squeeze out excess water.  The newspaper should not be soggy, just damp. Fill ¾ of the bin with moist shredded newspaper, decaying leaf litter (optional) and a handful of dirt and then mix it all together. You want the bedding to be fluffy not packed down. Let bin sit for a day before you add your worms.

Step 3:

Separate your vermiculture worms from the packing material that they came in. Scatter them in your bin. Feed them slowly at first so they can acclimate to their new environment and to monitor the rate at which they break down waste.

Step 4:

Feed your worms foods that they love and avoid the foods that they dislike (listed below). Don’t forget to harvest your compost every couple of months because your worms will continue to break down their bedding material.

Step 5:

After you have fed your worms for 3-6 months you will see some worm compost/castings on the bottom of your bin. It will be very dark in color and extremely rich in nutrients. You can harvest what is there or you can wait until your bin is really full. Worm castings are toxic to worms, so if you have mostly compost and not a lot of food or bedding left in your bin, then it’s time to harvest. Whatever method you choose, the key to harvesting is to separate your worms from the compost. Your worms will not survive if you put them in your garden with the compost.

To harvest your compost, you have a couple of different options:

  1. Your worms will be in the top 1/3 of your bin. You can remove the top 1/3 of worms, bedding & food and set that aside. Once you remove the compost from the bottom of your bin, then you can put your worms and remaining bedding/food back into the bin, add fresh bedding and resume feeding and maintaining your bin.
  2. If you have a larger bin, then you can push all of the material in your bin to one side and add new material to the empty half of the bin. After a month or so, when it appears that the worms have moved over to the new side, then you can harvest the compost from the other side.
  3. Spread the contents of your worm bin out on a plastic sheet/table cloth in the sun or under a bright light. Your worms will start moving down into the compost to get away from the light. About every 20 minutes you can scoop up the top layer of compost and the worms will move down again. Repeat this method for a couple of hours until you are left with a wiggly pile of worms that have been separated from the compost. Return the worms to their bin with fresh bedding immediately.

*You can’t save all of the worms, but using one of the three methods listed above will help to ensure that you save the majority of them!*

Here is an instructable with more information and photos:

https://www.instructables.com/id/Multi-Layer-Vermiculture-Bin/


Back To School

The Importance of Learning Gardening

by Sam Doll
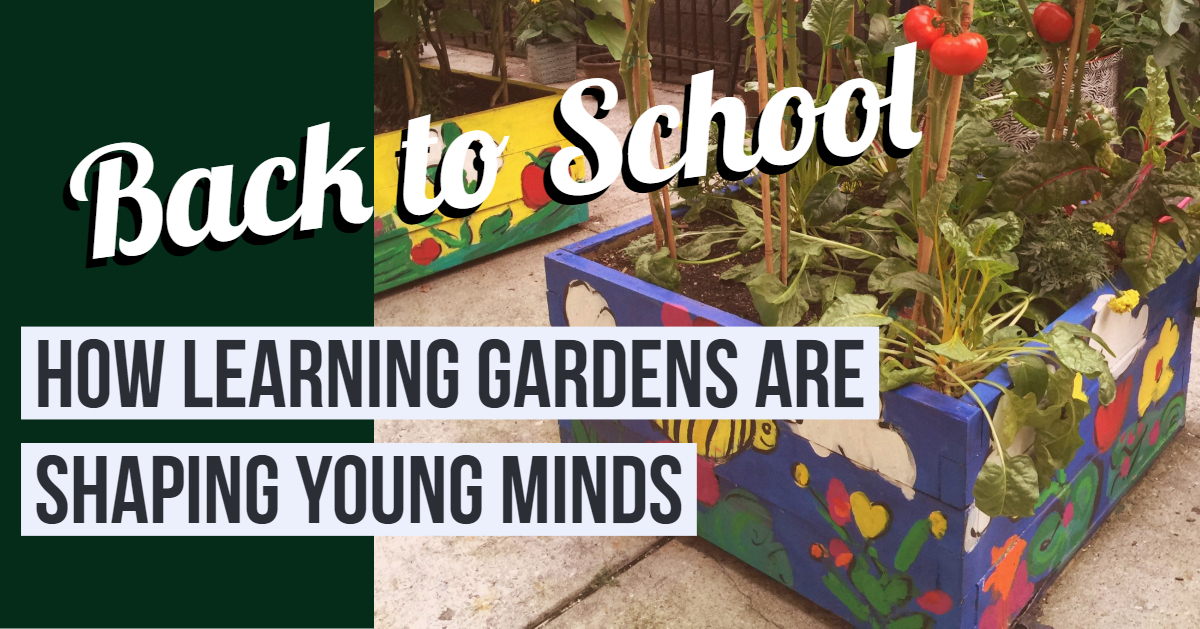
Back to School Learning Gardens.

What do you think of when you imagine a classroom? Do you think of rows of desks, educational posters, a whiteboard with a professionally dressed teacher at the front? There may be a few toys or tablets with games designed to teach kids their alphabet or basic math.

That traditional classroom is useful for certain things, like learning grammar and division, but it is really inadequate for teaching kids about the world they live in and interact with every day. This is especially true with food.

Most kids, especially those from low-income or urban areas have very little understanding of what food actually is or where it comes from. Kids learn through their senses, so when they aren’t given the opportunity to actually see and touch and understand how food comes from the earth to their plate, it is hard for them to have a deep understanding of the food system and it is harder for them to make healthy choices. Ketchup has no connection to a tomato and the tomato has no connection to the earth.

We know that good nutrition is linked to higher academic achievement. We also know that gardening has many positive outcomes for children, including better nutrition, social skills, and academic achievement.

That is why school learning gardens are such a powerful education tool. These outdoor classrooms can be installed either on school campuses or remotely and provide a unique, hands-on opportunity for kids to learn lessons in nutrition, science, and community while getting a tasty, healthy snack right from the garden!

One of the biggest organizations pushing for school learning gardens is Big Green. Started by Kimbal Musk, food entrepreneur and brother of Elon Musk. Big Green installs learning gardens at low-income schools across the country.

They provide dedicated garden instructors, so teachers aren’t being asked to do more than they already are and kids are getting information straight from the experts. Started in Boulder, Colorado (BBB Seed’s hometown), Big Green has built learning gardens at over 378 schools in seven states.

At BBB Seed, we are dedicated to educating people of all ages about the benefits of eating healthy, protecting our pollinators, and gardening with organic methods. To get educational materials sent straight to your email, make sure to sign up for our newsletter at the bottom of the ‘home’ page.