Our Ultimate Milkweed Growing Guide
Tips for Planting and Growing Milkweed Successfully
by Sam Doll
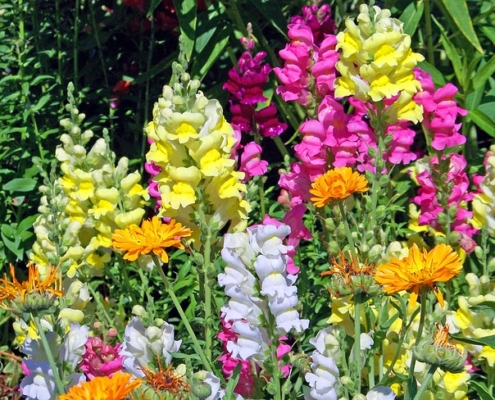
Milkweeds are hardy, perennial wildflowers found throughout North America. Some species can grow up to six feet tall and they produce beautiful, fragrant flower clusters. Since they’re common ingredients in traditional medicine, their genus name, Asclepias, comes from the Greek god of medicine.
Milkweed has gotten a bad rap over the years. Allergies and perceptions of the wildflower as a weed have caused it to be wiped out throughout large portions of North America.
This is bad news for the Monarch Butterfly. Monarch mothers will only lay their eggs on milkweed plants (genus Asclepias) and, once hatched, their caterpillars exclusively live on and eat the leaves of those same plants. They cannot survive without them. The prevalence of pesticides has not helped and the loss of milkweed, wildflowers, and other floral resources has devastated the monarch butterfly population. However, by restoring Milkweed to urban and wild landscapes, we can begin the process of saving the Monarch Butterfly! And our Ultimate Milkweed Growing Guide is here to help.
Don’t have your seeds yet? Check out our Complete Milkweed Buying Guide for all you need to know about our Milkweed Products!
Milkweed Growing Guide Table of Contents
- Prep
- Planting
- Transplanting
Why all these steps?
Milkweed seed has a high percentage of dormancy, which means many of the seeds won’t germinate without a little special treatment or might need to age for a season. Since we want to make sure you have complete success with our seeds, here are some tips!
Prep:
Milkweed seeds need to be exposed to cold temperatures that normally occur in winter to help break their natural dormancy and begin to soften their hard outer casing. If you are planning to start your Milkweeds indoors, you will need to do this cold stratification yourself.
You can do this by putting your Milkweed seed in a damp paper towel, folding it to fit into a sealed plastic bag, then placing the bag into the refrigerator. Keep it there for 4-6 weeks before planting.
Planting:
Plant your seeds in small 2-4″ peat pots (recommended) or tall plastic pots. Make sure to use ‘seed-starting’ soil or medium. Moisten the soil, place 1-2 seeds into each pot and cover with no more than 1/6″ damp soil or medium.
Place the pots where they can drain. Water gently or fill a tray with 1/2” of water to be absorbed from the bottom of the peat pots. Dump the excess water after absorption. Water when the top of the soil is dry and be mindful to not overwater.
Milkweed seeds germinate in warm conditions, so place your tray of pots in a warm spot like a sunny window, greenhouse, or under a grow light. Germination usually occurs after 10-15 days for cold-stratified seeds. To encourage sturdy stems, place your grow light bulb close to the soil. Sometimes a small fan blowing gently towards the new seedlings will encourage sturdier stems.
Other planting methods: Plant non-stratified seed into peat pots filled with seed-starting soil or medium. Moisten, and place in a greenhouse or under a grow light. Germination in this scenario might take several months.
If planting outside, seed in late fall. Let the Milkweed seed remain over the winter. This will accomplish the cold-stratification, needed. Germination should occur when the soil warms and the days are longer.
Oh, and while you’re at it, check out our Monarch Rescue Wildflower Mix. It has Butterfly Milkweed and a mix of other wildflower seeds to provide a nectar-rich place for Monarch Butterflies to fuel up and raise their young! Find it here!
Transplanting:
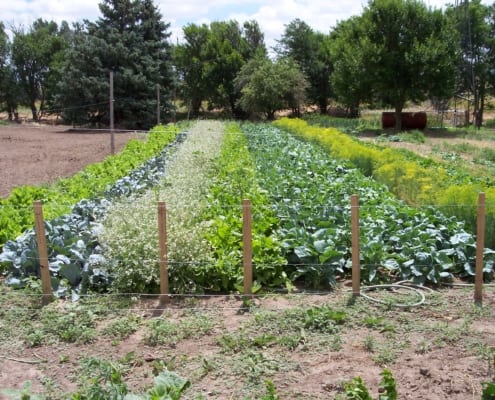
When the danger of frost is past and your plants reach 2-3″ tall, you can transplant outdoors. Choose a location in full sun if possible.
Milkweed produces a long taproot, so take care to not disturb the roots. Plant peat pots so that the top edge of the small pot is underground to avoid drying out. If your Milkweed seedlings were planted in plastic pots, be extremely careful with the roots. Continue to water after planting until plants become established. Once they are established, you can taper off your watering unless the season is extremely dry. The newly planted Milkweed seedlings may lose all their leaves due to transplant shock but should grow them back again.
Congratulations!
You’re now a proud Milkweed parent! Now just sit back and watch the Monarch Butterflies arrive!
P.S. – Save our Milkweed Growing Guide for next year by bookmarking this page on your browser.
*Note that all Milkweed contains cardiac glycosides, chemicals that are toxic when eaten. These chemicals, in turn, make the Monarch Butterflies toxic to any would-be predators. Avoid letting livestock and small children eat milkweed and wash any skin that comes in contact with the sap to avoid irritation.
Learn more about the Monarch Butterfly Migration by checking out this Blog post!