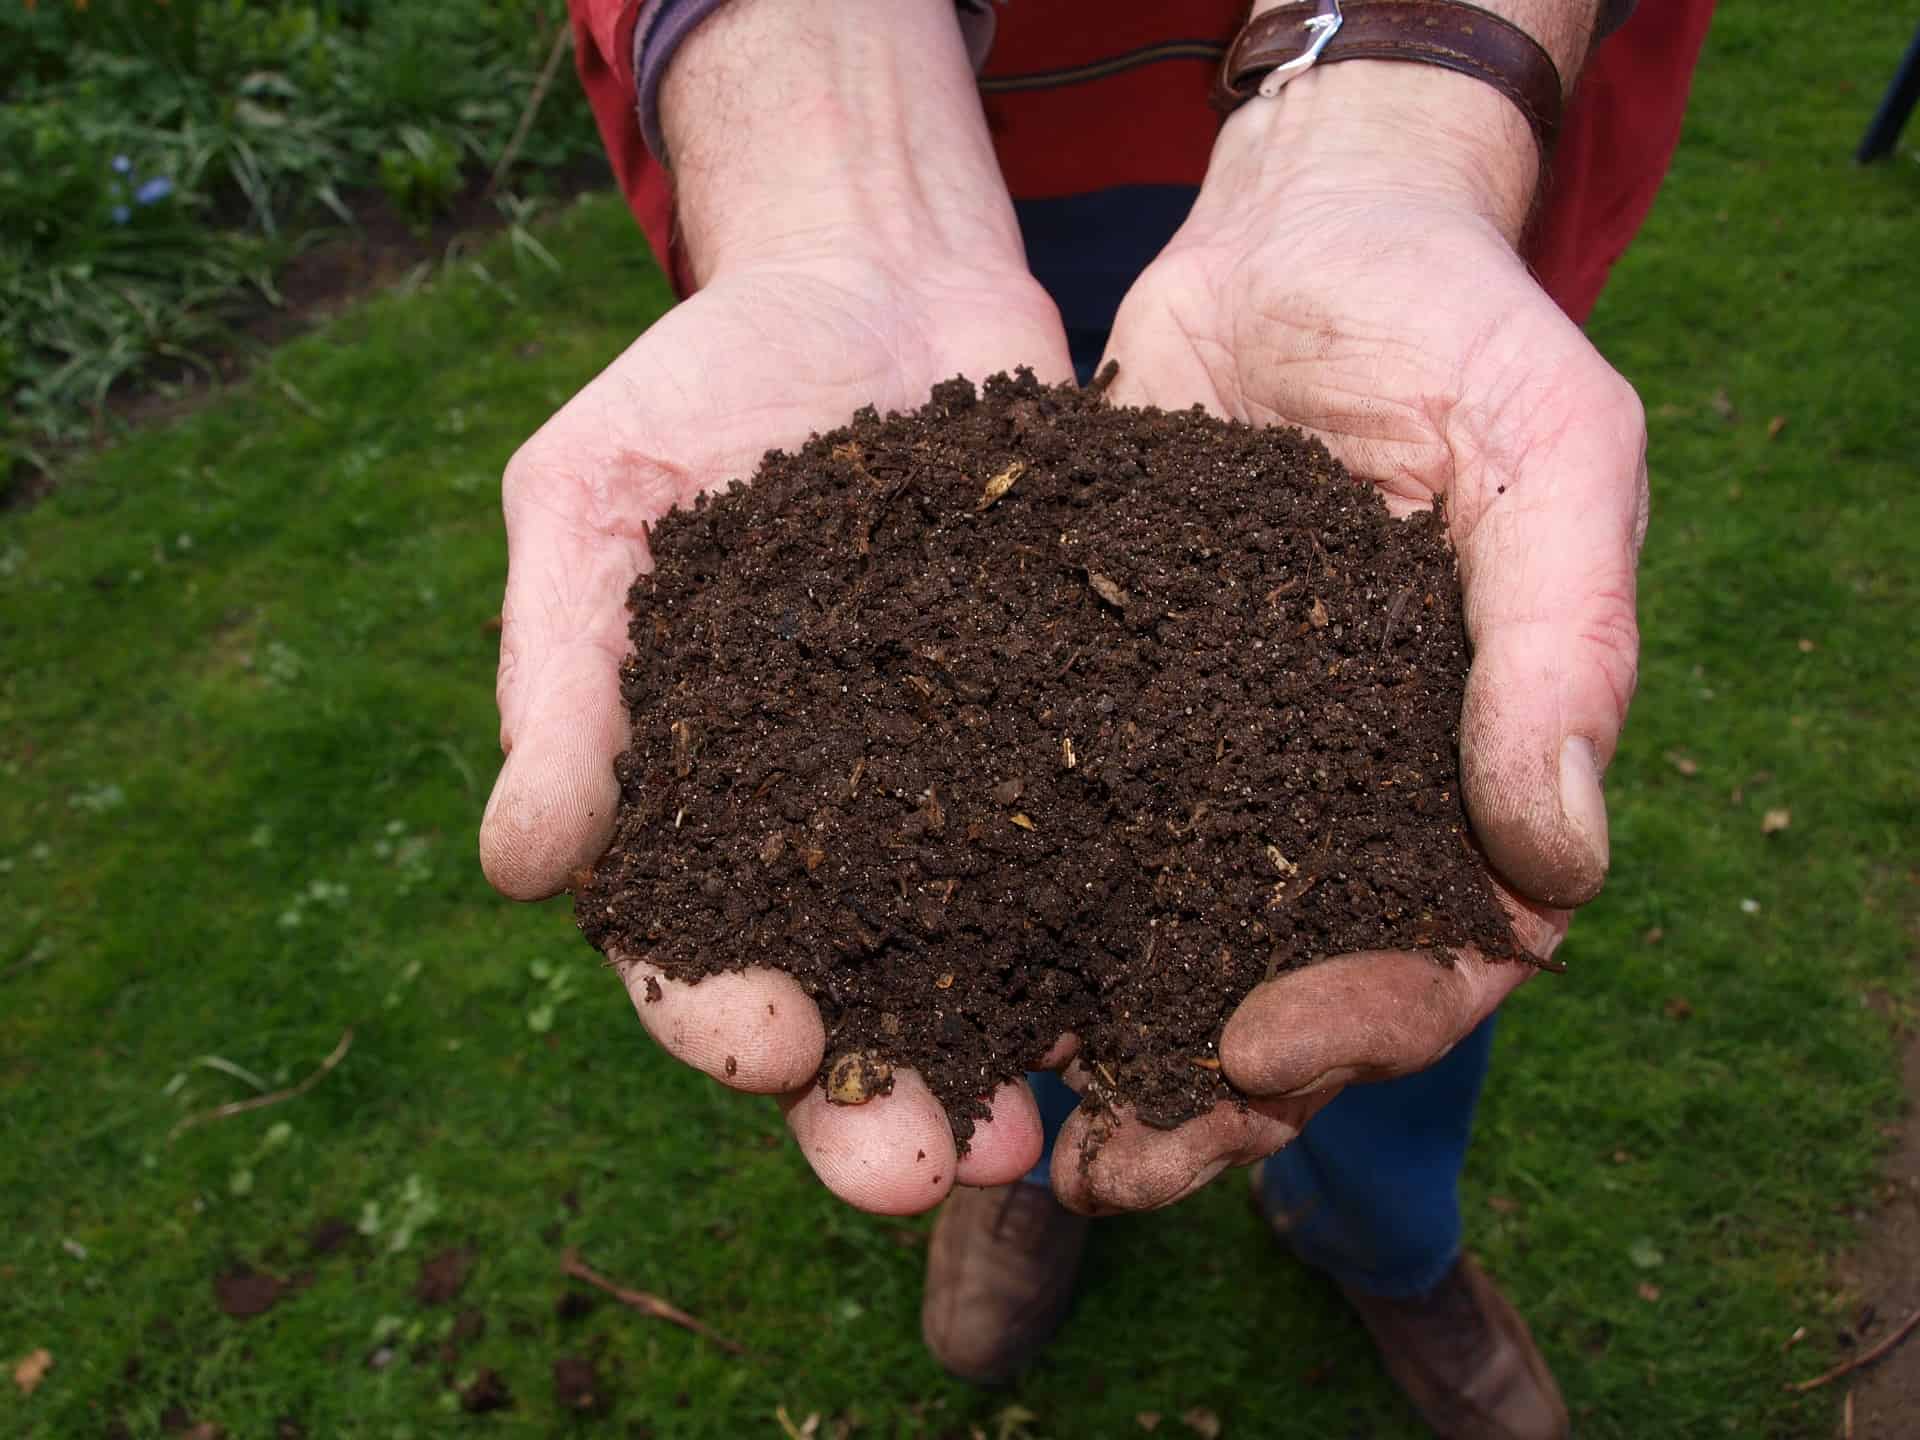
It snowed yesterday. It’s going to snow again today. This makes me so happy because it means I get a vacation from work. My gardening business is a lot like a teacher’s schedule. Work like crazy most of the year then I get a wonderful interlude to catch up on the rest of my life. Working in the garden may come to an end during Colorado winters, but eating usually continues and we continue to make lots of food scraps that any gardener would hate to waste.
When I lived on acreage, I did all my food composting by sending it through the chickens. The backyard chickens loved food scraps and eagerly ran around when I brought the compost bucket. Even if it was just onion scraps and things they didn’t like to eat, they relished scratching it around and mixing it with the coop bedding and poop. Spring compost in the making.
Without chickens, there are still ways that you can compost in winter and capture your kitchen scraps:
1. Use your regular compost bin
I empty mine to about ¼ full of compost in progress with lots of worms. I fill it all the way to the top with dry leaves and sort of hollow out the center. The leaves don’t freeze solid and all winter I drop the scraps down the middle of the leaves. The leaves provide some insulation and the food scraps and leaves at the bottom of the pile are warmed enough by the earth that a tiny bit of composting keeps happening even when temps get well below freezing. The earthworms are slow but still keep working and reproducing.
2. Compost in a protected sunny spot
Keep a plastic (black if possible) bin against the house on a sunny side. I started with the bin half full of partially finished compost that hopefully has some worms already busy in it. The center, next to the ground, will stay unfrozen so the worms will stay alive. The compost probably won’t process much over the winter except on sunny days. You may need to secure it against raccoons or other varmints.
3. Make a trench
This takes a bit of planning before the cold weather arrives, but produces amazing results and saves time and labor. Dig a long trench right in the garden…about a foot deep and a foot wide. Leave the soil heaped right next to the trench with a rake nearby. I left the excavated dirt on the side of the trench. Every time the indoor compost bin was full, I just took it out to the garden and dumped it into the trench. If things weren’t too frozen, I pulled some of the excavated dirt on top of the food scraps. If there was snow on the ground, I just put the scraps on top, and eventually, it fell into the trench.
This process attracts all the worms to the trench. Some composting takes place in the Fall but most decomposition happens in early Spring. By early May, when it’s time to plant tomatoes, the compost is broken down enough that I can transplant my tomatoes directly into the filled trench that is crawling with decomposers and happy earthworms. If it was a very cold winter and the compost isn’t finished, just plant right next to the trench. Some people like to compost in trenches all year. They set up a three-year rotating system where they compost one year, plant the next and use the area as a walkway the third year. Pretty clever!
4. Make a windrow
John, the Worm Man, Anderson in northern Colorado keeps his worms happy all winter by setting up short windrows of compost, food scraps, and worms. He throws old carpet or tarps over the top. Periodically, he lifts the carpet and puts new scraps on top of the piles. The worms slow down in winter but keep working and reproducing. For small households, just make a pile on the ground and cover it with a tarp. The tarp keeps moisture and some heat in. Just slip the food under the tarp. Worms show up. This doesn’t work so well if you have raccoon or mice and rat issues.
https://bbbseed.com/wp-content/uploads/2026/01/47710_BBB_Logo_HiRes_Transparent_1023-01-removebg-preview.png00Sandy Swegelhttps://bbbseed.com/wp-content/uploads/2026/01/47710_BBB_Logo_HiRes_Transparent_1023-01-removebg-preview.pngSandy Swegel2022-10-28 03:57:142025-06-23 14:54:414 Ways to Compost in Winter
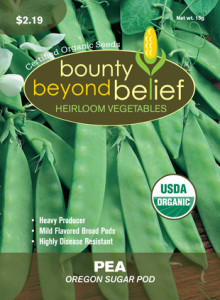
“How luscious lies the pea within the pod” – Emily Dickson wrote. I think most of us would agree that fresh peas are a hallmark of early summer produce and have us saying “please pass the peas”. The origin of peas is shrouded in mystery as it is a food plant so ancient that the earliest preserved specimens date from 9750 BCE in Thailand. Peas are legumes and of the family Fabaceae and is the third largest of the flowering plant families.
The ancient Greeks and Romans grew peas and hot pea soup was peddled in the streets of Athens while fried peas were sold to spectators instead of popcorn at the Coliseum in Rome. They were popular in England in the middle ages and there were to primary varieties – one was a field pea to be fed to animals and the other was called the “greene pea” and appeared often at the dinner table. The pea arrived in the Americas with Christopher Columbus and was part of the early colonist’s kitchen gardens.
Green Peas are easy to grow and can be succession planted to extend the harvest, they are delicious additions to salads, soups and eaten alone. The varieties are many, including shelling peas and sweet sugar snaps as well as the snow pea used in Asian cooking. “All the essentials of life,” according to Winston Churchill, are only four: hot baths, cold champagne, old brandy and new peas.
Here are a couple of classic recipes to help you enjoy the bounty of fresh peas and to make your family say “please pass the peas!”
CORNUCOPIA SALAD
Serves 4 as a Vegetarian Main Course
1 bunch torn arugula
1 bunch torn butterhead lettuce
½ lb sugar snap peas, string removed
1 cup cooked black beans
1 cup diced buffalo mozzarella
16-20 halved cherry tomatoes
Kernels from 2 ears of cooked corn
½ cup diced red bell pepper
For Vinaigrette:
2 TBL red wine vinegar 1 TBL Dijon mustard
2 TBL balsamic vinegar ½ tsp salt
2 TBL lime juice ½ tsp freshly ground black pepper
1 TBL lime zest 2 TBL chopped roasted red bell pepper
¼ cup minced red onion 6 TBL olive oil
2 TBL chopped fresh basil 6 TBL canola oil
1 TBL minced fresh parsley 2 TBL water
ENGLISH PEAS WITH PROSCIUTTO AND POTATOES
Serves 3 or 4
½ lb new potatoes, scrubbed and cut into ½ inch dice
3 oz. chopped prosciutto, pancetta or bacon
2 lbs shelled fresh English peas
½ small onion, finely chopped
1 small handful of fresh mint leaves
Extra virgin olive oil
Salt and freshly ground pepper, to taste
Put potatoes in a medium pot with water to cover by one inch and one tablespoon of salt. Bring to a boil and simmer gently for 10-12 minutes until potatoes are tender. Drain.
Heat a small glug of olive oil in a large skillet over medium heat and add onion and prosciutto and a pinch of salt. Sauté until onion is soft and fragrant and prosciutto has rendered some fat and is turning crisp around the edges, about 5 minutes.
Add the peas and potatoes and season generously with salt and pepper. Add 2 tablespoons of water to help steam cook the peas for another 4-5 minutes until they are tender and the flavors have come together.
Toss in the fresh mint and drizzle with a bit more olive oil and additional salt and pepper to taste. Then pass the peas!
https://bbbseed.com/wp-content/uploads/2026/01/47710_BBB_Logo_HiRes_Transparent_1023-01-removebg-preview.png00Engrid Winslowhttps://bbbseed.com/wp-content/uploads/2026/01/47710_BBB_Logo_HiRes_Transparent_1023-01-removebg-preview.pngEngrid Winslow2019-06-18 13:11:122025-06-23 15:02:02Please Pass The Peas
Do gardeners love fragrance because they are gardeners or are they gardening because they enjoy fragrance? It’s sort of a “chicken and the egg” concept, but no gardener can deny that growing plants is a sensory experience. Whether it’s brushing against basil or tomatoes while harvesting or inhaling the smell of a rose, those of us who garden seek out sweet (even unusual) smelling plants. If you enjoy the spicy scent of marigolds or the heady aroma of peonies then you surely want to bring fragrant flowers and plants into your life.
Fragrance can bring back memories or promote relaxation. Lavender is the most well-known fragrance added to various products that help us relax and even fall asleep. The best way to bring fragrant flowers into your garden is to plant them where the fragrance can be enjoyed when you are outdoors. Place them near walkways, front and back doors, benches and under bedroom windows so the smell can be appreciated. Also, consider the seasons when they bloom for year-round enjoyment.
Fragrance in flowers falls into 4 major categories: Floral, Fresh, Spicy and Woodsy are the primary scents. Floral smells are sweetly fragrant and include flowers such as stock, lilies, sweet pea, alyssum, lily of the valley and phlox. If you like spicy then be sure to include marigolds, sage and carnations. Fresh scents include lavender and mint while you can add the woodsy smell with rosemary and thyme.
There are public gardens, that were designed with fragrant flowers in mind and in honor of the blind, that are worth a visit if they are near you. If not, then just notice what you are smelling as you walk your neighborhood and garden centers. Sometimes a smell will surprise you, require investigation and then add to your home garden.
https://bbbseed.com/wp-content/uploads/2026/01/47710_BBB_Logo_HiRes_Transparent_1023-01-removebg-preview.png00Engrid Winslowhttps://bbbseed.com/wp-content/uploads/2026/01/47710_BBB_Logo_HiRes_Transparent_1023-01-removebg-preview.pngEngrid Winslow2019-05-09 14:58:422025-06-23 15:01:42Bring More Sweet Smells Into Your Life
Morning Glories are one of the easiest annuals to start from seed. In some areas, they will re-seed from last year’s dropped seed and some varieties may even be perennial in mild climates. After an overnight soak in water, plant the seeds about 1/2 inch deep and then stand back and watch!
Best started in fertile soil with adequate moisture during germination and early growth, morning glories can produce vines up to 15 feet long and will clamber over gazebos, fences and trellises with their twining limbs. Some gardeners even grow them up a downspout and along a roofline or up into the limbs of a tall tree. They can be so vigorous as to choke out other plants nearby and can be vigorous re-seeders which grow best in average soil and full sun.
They are called “morning glory” because they bloom early in the day and the petals deflate and fall off in the evening. The Morning Glory was first cultivated in China for its medicinal uses, due to the laxative properties of its seeds. It was introduced to the Japanese in the 9th century, and they were the first to cultivate it as an ornamental flower. The Japanese have led the world in developing varieties and the colors range from blue and pink to red, purple, lavender, white and even brown. The flowers are attractive to hummingbirds, butterflies, and bees.
(also called Clarke’s Heavenly Blue) blooms with 5-inch flowers all summer and is an heirloom variety dating back to the 1920s. It is a lovely blue with a white center. These are one of the most easily recognized and popular of all morning glory varieties and can be up to 12 feet long. The foliage is an attractive heart shape.
bears velvety deep-purple flowers with red stars at their center. This self-sowing annual was originally grown by Grandpa Ott, a Bavarian immigrant, who lived on a 40-acre farm in St. Lucas, Iowa and was preserved by the family in conjunction with the Seed Savers Exchange. This one can climb to 15 feet tall if given support to grow on. Grandpa Ott’s grows very quickly, spreads easily and looks stunning. It will also adapt to part shade.
Although also called “morning glory” start to bloom in the late afternoon and close in the morning light. If the day is overcast or cool and cloudy they may stay open for a longer period. Moonflower is fragrant enough to perfume the air within 6 feet of the blossoms and loved by hummingbirds and night moths, including the large Sphinx Moth. The blooms are 5-6 inches across and the vines can grow up to 20 feet. They are native to tropical and subtropical regions of the New World, from northern Argentina north to Mexico and Florida.
https://bbbseed.com/wp-content/uploads/2026/01/47710_BBB_Logo_HiRes_Transparent_1023-01-removebg-preview.png00Engrid Winslowhttps://bbbseed.com/wp-content/uploads/2026/01/47710_BBB_Logo_HiRes_Transparent_1023-01-removebg-preview.pngEngrid Winslow2019-05-03 05:00:092025-06-23 15:01:42A Trio of Morning Glories to Welcome Spring
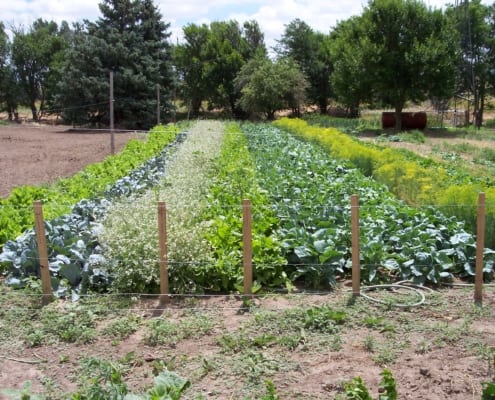
Yes, it is still very cold and very dark but nothing fills the heart in the dead of winter than planning for spring. What should you be doing now that will keep those spirits up? Plan your vegetable garden and herb garden!
1. First of all, take a look at those vegetable and herb beds and decide what and how many varieties you want to plant next year. Do you want to start those peppers a bit earlier this year? Did you plant tomatoes there last year – rotate tomatoes every 3 years if at all possible to avoid depleted soil and issues with many diseases. What do you want to grow more of this year? Anything you want to try that’s new? What did you and your family really love? Want more tomatoes or basil for pesto or tomato sauce? [4 Tips For Keeping Your Basil Productive and Pesto Secrets] Were there any epic fails? Maybe it’s time to move on to buy those at your local Farmer’s Market and devote the precious real estate to something else.
2. Speaking of soil, this is a great time to start adding mushroom compost in a nice thick layer that can work its way into the soil during late winter freeze and thaw cycles and heavy periods of moisture. You can also cover the compost with a layer of seed-free straw that was grown organically.
3. Peruse the seed catalogs and websites. It is so fun to read those descriptions and they all sound wonderful but be aware of your space and climate when choosing seeds. Take stock of any seed that you saved from last year and organize and assess any leftover seed packets. Seed viability goes down over time. Onions, corn, parsnips, parsley and leeks should be refreshed every year, but tomatoes and lettuce can go 4-6 years and still germinate. Check out these charts if you have questions: https://hortnews.extension.iastate.edu/1999/4-2-1999/veggielife.html/
and http://ottawahort.org/wp-content/uploads/2017/02/Seed-Viability-Times.pdf/
4. Gather up your seed starting supplies and order more if needed. Dust off those grow lights, check the heat mats and make sure they still work and clean any seed starting containers that you plan to re-use with a weak bleach solution. Again, assess what worked and what didn’t in prior years. Did lettuce seeds that were direct-sown in the garden elude you? Try starting them indoors under a plastic dome which helps retain moisture until they are fully germinated.
5. Did friends and neighbors share anything they learned with you? Maybe it’s time to get everyone together for a Happy Hour, swap saved seeds and talk about their gardening experiences.
https://bbbseed.com/wp-content/uploads/2026/01/47710_BBB_Logo_HiRes_Transparent_1023-01-removebg-preview.png00Mike Wadehttps://bbbseed.com/wp-content/uploads/2026/01/47710_BBB_Logo_HiRes_Transparent_1023-01-removebg-preview.pngMike Wade2019-01-04 05:00:032025-06-23 15:01:27DREAMING OF SPRING
Hummingbirds may be cute little-winged creatures, but really they are tough as nails! These extremely important pollinators have the highest metabolic rate of any other animal on earth. They also have a high breathing rate, high heart rate and high body temperature. Their wings flap up to 90 times per second and their heart rate exceeds 1,200 beats per minute. In order to maintain their extremely high metabolism, hummingbirds have to eat up to 10-14 times their body weight in food every day for fuel. In preparation for migration, they have to eat twice this amount in order to fly thousands of miles.
A huge portion of a hummingbird’s diet consists of sugar that they acquire from flower nectar, tree sap and hummingbird feeders. They also have to eat plenty of insects and pollen for protein to build muscle. Hummingbirds cross-pollinate flowers while they are feeding on nectar because their heads become covered with pollen and they carry the pollen to the next bloom as they continue to feed. Several native plants rely on hummingbirds for pollination and would not be here today if it wasn’t for these efficient pollinators.
Hummingbirds are found in several different habitats, including wooded and forested areas, grasslands and desert environments. They also occur at altitudes ranging up to 14,000 feet in the South American Andes Mountains.
The male hummingbirds are usually brightly colored while the females are dull colored in order to camouflage them while nesting. Female hummingbirds rely on males for mating only and after that, they build the nest and raise their young as single parents. They have been known to fearlessly protect their young against large birds of prey, such as hawks and have even attacked humans that get too close to their nests. They usually lay up to two eggs which hatch within a few weeks. Hummingbirds can live 3-5 years in the wild, which varies by species, but making it through their first year of life is a challenge. Fledglings are particularly vulnerable between the time that they hatch and the time that they leave the nest. Larger species may live up to a decade.
In order to conserve energy at night, because they lack downy feathers to hold in body heat, hummingbirds enter a state of semi-hibernation called “torpor”. This allows them to lower their metabolic rate by almost 95% and also lower their body temperature to an almost hypothermic rate. During this time, hummingbirds perch on a branch and appear to be asleep. When the sun comes up and starts to warm the earth, it takes about 20 minutes, but the tiny birds will awake from their torpor state and start their feeding rituals.
Planting a lot of reds and purples in your garden and hanging hummingbird feeders around your yard will attract and help feed these little pollinator friends. In fact, BBB Seed has a Hummingbird Wildflower Mixspecifically designed with these little guys in mind. Please help to support these amazing creatures in your own backyard! Pollinator Week is a reminder to support pollinators all year long!
The old adages say cleanliness and hard work are virtues. That may be true in your kitchen, but in the garden, a little sloth can save many lives and make your life a little easier. Mother Nature isn’t just messy when she clutters up the Fall garden with leaves and debris….she’s making homes for her creatures. Old dead leaves may look like clutter that needs to be tidied up, but it’s really nice rustic sustainable homes for many of a gardener’s best friends.
Here’s who is hiding in your garden this winter if you DON’T clean up.
Ladybugs in the garden beds next to the house. Ladybugs want a nice sheltered home safe from wind and exposed soil. I most often find them under the leaves and dead flower stalks in the perennial garden.
Butterfly larvae (aka caterpillars) in leaf bundles. Sometimes in winter, you’ll see a couple of leaves looking stuck to a bush or tree or in a clump on the ground. Often there’s a butterfly baby overwintering there.
Lacewing at the base of willows or in the old vegetable garden. Insects don’t work very hard in the fall either. Often they are eating happily on the aphids in your vegetable garden or your mini forest and just go through their life cycle right there. They lay their eggs on the bottom of leaves and the leaves fall to the ground. If you clean up too much, you’ll clean up all the beneficial insect’s eggs
Slugs in your hosta garden. Even slugs are a good thing to leave for the winter. They will be plump food for baby birds next Spring.
The bottom line is don’t do a good job of cleaning up in the Fall. Take away any very diseased leaves. Clean up the thick mats of leaves on the lawn so they don’t encourage lawn fungus. But leave the flower stalks with seeds and the leaves in the beds. They insulate and protect plants and insects.
Another good reason to be a little lazy this Fall.
https://bbbseed.com/wp-content/uploads/2026/01/47710_BBB_Logo_HiRes_Transparent_1023-01-removebg-preview.png00Sandy Swegelhttps://bbbseed.com/wp-content/uploads/2026/01/47710_BBB_Logo_HiRes_Transparent_1023-01-removebg-preview.pngSandy Swegel2016-10-24 12:30:562025-06-23 15:00:07Quit Working so Hard This Fall
Nothing like the first deeply freezing temperatures followed by a warm day to get people in Zone 5 areas asking if the gardening season is really over if they can still tackle their garden to do lists even though winter looms with Thanksgiving is around the corner. We have two conflicting impulses…the really good bulbs are on sale at our local garden center AND there’s an inch of snow and refrozen ice on the garden bed.
What does happen to our soil in winter? Once soil temperatures are in the forties, all the creatures and denizens of the soil put themselves to sleep through dormancy or through laying lots of eggs or spores that will hatch when temperatures are warmer. Seeds stop germinating or else require weeks and weeks at low temperature to come up. They’re smart…no point in germinating if sub-zero temperatures in another few weeks are going to kill young growth. So the soil goes into stasis until the temperatures warm.
Here are some of the questions I hear people asking as our soil begins its freeze:
Can I still plant bulbs? Can I transplant daylilies now? Yes, if you can pry the soil open and get water to the plant, there’s a good chance your bulbs will bloom and the daylily will be fine. Daffodils especially prefer getting planted earlier to have some time to make roots. Sometimes blooming is delayed the first season, but I have had good success in planting bulbs too late…especially if I throw in some compost in the hole and don’t plant too shallowly. I’ve also had years when the bulbs just ended up being frozen mush…so plant earlier next year.
Can I put in a cover crop? In Zone 5, it’s too late. The temperatures are too cold for seed germination. Put lots of mulched leaves over the soil to cover it.
Do I have to water? Ideally, you got the garden well watered sometime in Fall through rain or irrigation. If not or if there are long dry sunny spells, you should winter water.
What do I do with my Fall greens that are freezing solid? Keep eating…they get better every day. Spinach frozen at 8 am is delicious at room temperature. If you cover greens with row cover or a cold frame or even throw big bags of leaves over the plants, you can keep harvesting easily through January or longer if you haven’t eaten them all.
Can I still use herbs? Yep, remember where your herbs are and you can put your hand through a foot of snow for snippings of intensely flavored frozen thyme or oregano leaves.
Can I still fertilize? You can, but the soil organisms won’t be processing it. Organic fertilizer like alfalfa meal stay on the soil and will eventually be used when things warm up next Spring.
Is there something I should plant? Winter hardy violas and pansies don’t mind a little snow and ice. In a sunny location, they’ll keep throwing up blooms all winter long…a surprise of color in a white or brown winter-scape. Plant well hardened off plants and keep them watered.
I’m a big fan of multi-tasking so it’s natural that whenever there’s a garden chore to be done, I think about whether it might solve some other task that needs doing. In the Spring I schedule perennial weed digging so the roots can be thrown to the chickens for yummy spring greens. In Summer I arrange to cut grass when I need the clippings to mulch the vegetable beds. In Fall I pick up leaves when I need to insulate rose bushes and perennials. One of the tasks I still want to do this year is “rejuvenation pruning” on shrubs or simple pruning on shrubs and trees that are poking me in the eye when I walk by or blocking the sidewalk.
Rejuvenation pruning is a great way to keep all your shrubs looking great. Every year you simply cut back to the ground 1/4th to 1/3rd of the oldest branches in your bushes. The shrub will put out new growth next spring to fill in and you’ll always have a self-rejuvenating plant.
So the multi-tasking solution here is to do some needed pruning on plants that happen to also look good, when cut, to use the pruning for holiday decorations. Some of the plants I’ll be pruning for Thanksgiving or Christmas are:
Branches with Berries: Pyracantha (orange berries) or Hawthorn (red berries)…be careful about thorns Cotoneaster with red berries Coral berry or porcelain berry
Branches with an interesting structure: Harry Lauder or curly willow both make nice twisty branches. Birch stems can have interesting bark. Yellow and redtwig dogwoods add great color. Even simple wild plum branches can be put in the center of a flower arrangement to hold the flowers up
Evergreens: Early winter is a great time to prune those Mugo pines or spruce trees that block the driveway. Juniper and cedar trimmings offer great aroma as well as evergreen color.
So once again, twice the work in half the time or something like that. The bushes have old wood removed, the shrubs and trees have a better shape, and the house is decorated for free with dramatic gifts from nature, brought indoors.