Sharing plants is a simple joy in life. Sharing plants and making money, well that’s even better. Read on to learn how to share your plant starts for profit.
My happy group of gardening buddies first got to know each other because of our great avarice for more seeds. We had all joined a local gardening email list so we could talk more about plants and gardening, but the more we spoke with each other, the more seeds and plants we wanted. Every time someone mentioned a new variety of tomatoes or annual flowers or ground cover, we had to have one of those.
The first year, we decided to meet in person and share seed packets. Armed with dozens of recycled envelopes, we doled out tiny seeds to each other, taking home three Cherokee purple tomato seeds or six cosmos seeds. This quickly became confusing and chaotic and required so many tags in our seed trays. So the next year we decided to become more economical. We’d each buy a packet of seeds and grow out all the plants…and then swap our plant starts. We definitely got more plants than we would have grown on our own and we each had unusual varieties you can’t buy in stores.
But the third year of our avarice proved to be the year we figured out that we could get as many seeds as we wanted…and they practically paid for themselves. All we had to do was start our seeds and sell 2-month-old plant starts to each other and to the other greedy gardeners who envied our ever more diverse gardens. We learned that anyone can sell healthy organic heirloom tomato starts, especially if you have pictures of last year’s garden.
You can try your own mini plant exchange and sale. We price our seedlings cheap ($1 or $2 at most). I can afford all the heirloom tomato plants I want if I just sell three seedlings for $1 from each seed packet. Throw in some herbs and flowers and soon the plants barely fit in the car. Our little group now has a giant plant sale every May where everyone brings their plants to sell to each other, but thanks to free advertising on Craigslist and neighborhood electric poles, we also sell our humble little plants to the public.
Avarice never ends, of course, and now we have to grow more plants so we can make money so we can afford backyard greenhouses. Last year our small group of about 12 home gardeners sold some $4000 worth of plants that they started in closets and on top of refrigerators just two months before. Not enough to get rich, but enough to buy more seeds, build hoop houses and season extenders, and have a load of precious organic sheep manure delivered to our gardens.
So enjoy your seed shopping and think about swapping some of the plants you start with others. We learned that while there is no end to avarice among gardeners, there is also no end to generosity. It is a great joy to have an abundance of little plants to share with friends and strangers.
https://bbbseed.com/wp-content/uploads/2026/01/47710_BBB_Logo_HiRes_Transparent_1023-01-removebg-preview.png00konabirdhttps://bbbseed.com/wp-content/uploads/2026/01/47710_BBB_Logo_HiRes_Transparent_1023-01-removebg-preview.pngkonabird2022-11-18 18:14:002025-06-23 14:54:40How to Share Your Plant Starts for Profit
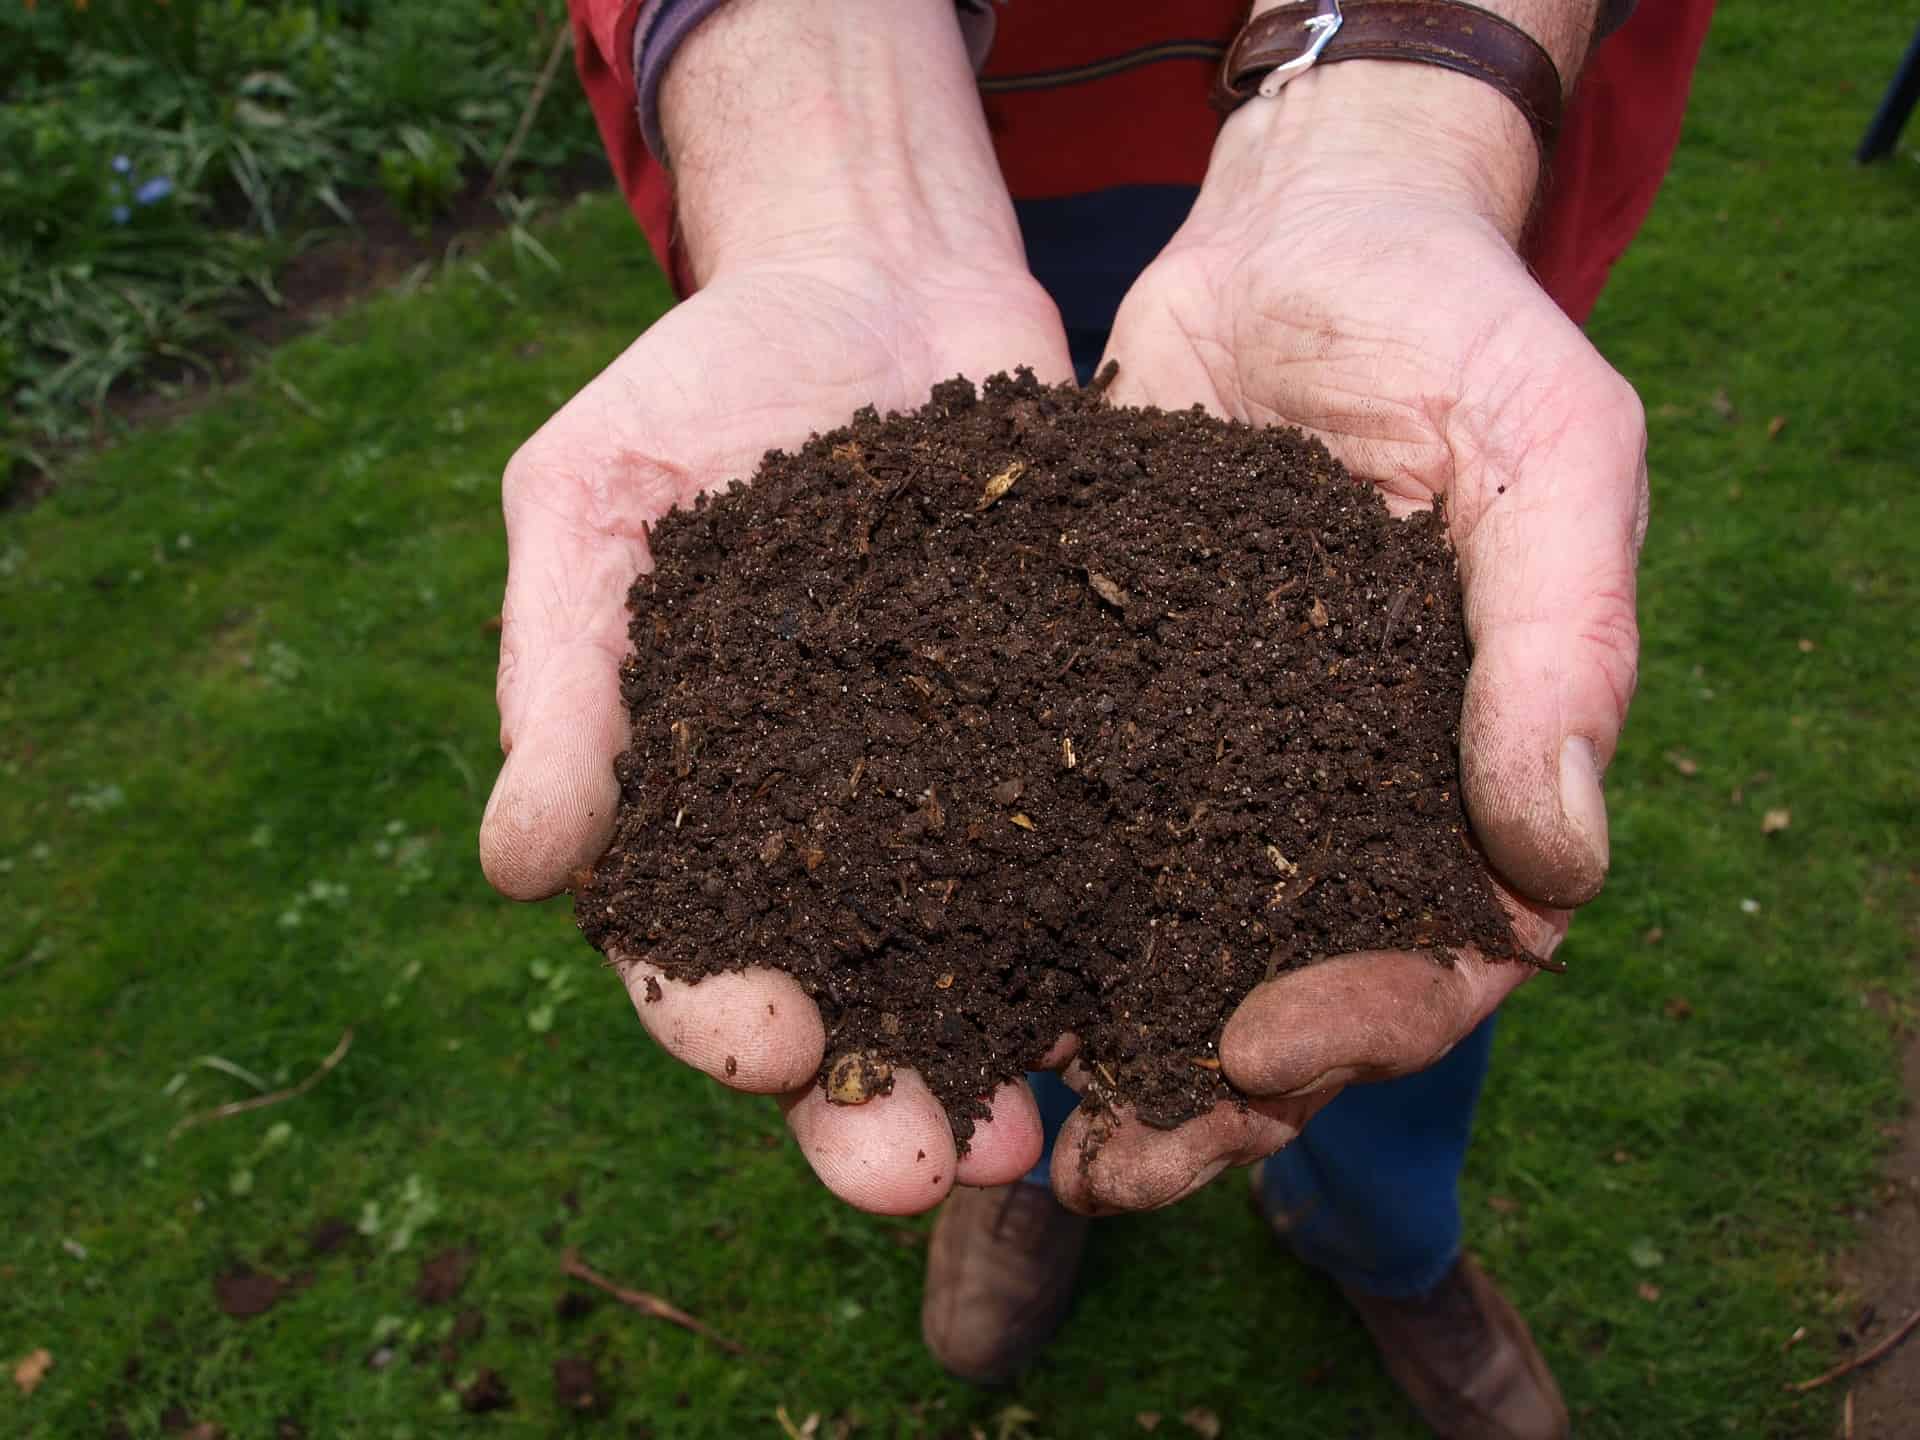
It snowed yesterday. It’s going to snow again today. This makes me so happy because it means I get a vacation from work. My gardening business is a lot like a teacher’s schedule. Work like crazy most of the year then I get a wonderful interlude to catch up on the rest of my life. Working in the garden may come to an end during Colorado winters, but eating usually continues and we continue to make lots of food scraps that any gardener would hate to waste.
When I lived on acreage, I did all my food composting by sending it through the chickens. The backyard chickens loved food scraps and eagerly ran around when I brought the compost bucket. Even if it was just onion scraps and things they didn’t like to eat, they relished scratching it around and mixing it with the coop bedding and poop. Spring compost in the making.
Without chickens, there are still ways that you can compost in winter and capture your kitchen scraps:
1. Use your regular compost bin
I empty mine to about ¼ full of compost in progress with lots of worms. I fill it all the way to the top with dry leaves and sort of hollow out the center. The leaves don’t freeze solid and all winter I drop the scraps down the middle of the leaves. The leaves provide some insulation and the food scraps and leaves at the bottom of the pile are warmed enough by the earth that a tiny bit of composting keeps happening even when temps get well below freezing. The earthworms are slow but still keep working and reproducing.
2. Compost in a protected sunny spot
Keep a plastic (black if possible) bin against the house on a sunny side. I started with the bin half full of partially finished compost that hopefully has some worms already busy in it. The center, next to the ground, will stay unfrozen so the worms will stay alive. The compost probably won’t process much over the winter except on sunny days. You may need to secure it against raccoons or other varmints.
3. Make a trench
This takes a bit of planning before the cold weather arrives, but produces amazing results and saves time and labor. Dig a long trench right in the garden…about a foot deep and a foot wide. Leave the soil heaped right next to the trench with a rake nearby. I left the excavated dirt on the side of the trench. Every time the indoor compost bin was full, I just took it out to the garden and dumped it into the trench. If things weren’t too frozen, I pulled some of the excavated dirt on top of the food scraps. If there was snow on the ground, I just put the scraps on top, and eventually, it fell into the trench.
This process attracts all the worms to the trench. Some composting takes place in the Fall but most decomposition happens in early Spring. By early May, when it’s time to plant tomatoes, the compost is broken down enough that I can transplant my tomatoes directly into the filled trench that is crawling with decomposers and happy earthworms. If it was a very cold winter and the compost isn’t finished, just plant right next to the trench. Some people like to compost in trenches all year. They set up a three-year rotating system where they compost one year, plant the next and use the area as a walkway the third year. Pretty clever!
4. Make a windrow
John, the Worm Man, Anderson in northern Colorado keeps his worms happy all winter by setting up short windrows of compost, food scraps, and worms. He throws old carpet or tarps over the top. Periodically, he lifts the carpet and puts new scraps on top of the piles. The worms slow down in winter but keep working and reproducing. For small households, just make a pile on the ground and cover it with a tarp. The tarp keeps moisture and some heat in. Just slip the food under the tarp. Worms show up. This doesn’t work so well if you have raccoon or mice and rat issues.
https://bbbseed.com/wp-content/uploads/2026/01/47710_BBB_Logo_HiRes_Transparent_1023-01-removebg-preview.png00Sandy Swegelhttps://bbbseed.com/wp-content/uploads/2026/01/47710_BBB_Logo_HiRes_Transparent_1023-01-removebg-preview.pngSandy Swegel2022-10-28 03:57:142025-06-23 14:54:414 Ways to Compost in Winter
A cover crop is simply a dense planting of quick-growing plants that protect the soil and can provide many nutrients to the soil. The most common cover crops are grasses/grains such as Winter Rye. The other favorites are legumes such as clover, vetch, and peas that fix nitrogen in the soil. When the green cover crop plants are tilled into the soil it is called a “Green Manure” crop. These terms are used alternately. You can plant cover crops; during the growing season to keep weeds at bay, in the fall to overwinter adding nutrients and protecting the soil, or in the spring for areas where you will be planting later crops.
Why plant cover crops?
They hold the soil in place. Providing protection from wind and water erosion. The dense planting provides weed suppression. Winter Rye actually has allelopathic properties that inhibit other plant growth. Cover crops enrich the soil by nitrogen fixation from legume plant species and add organic material for helping the soil structure and providing food for beneficial microbes and worms. Cover crops help to reduce garden insect pests by attracting beneficial insects and bees and bumblebees are attracted to the early blooms of some of the species.
Soil Protection:
Protecting the soil is very important. Planting a cover crop is like a living mulch. The roots hold the soil in place and penetrate deeply into the earth, bringing moisture, nutrients, and airway down into the depths. The leaves shade the top of the soil keeping the top from desiccation from wind and sun, and allowing the microbes and earthworms to continue to enrich the soil. Allowing annual cover crop species to just die in place and cover the soil aids in this process and during the winter helps to hold the snow on the soil. It is important to mulch to cover the soil even if you are not using a cover crop. Just use leaves, newspaper, or cardboard covered with burlap or netting to hold it down. The worms love decaying leaves!
Weed suppression:
Cover crops help to combat weeds firstly by sheer numbers. Cover crops need to be planted thickly. Weeds love bare soil! Planting a cover crop in the fall to till under in the spring is a good way to get ahead of the spring weeds. Try to get a fall-planted cover crop for spring tilling in at least 1 month before killing frosts in the fall. Use a spring-planted cover crop to combat weeds in areas between rows of crops or in orchards. Cover crops are effective whether you till or not. They can just be mowed off and in cold winter areas, most annual cover crops die on their own and are a good mulch in place even when dead.
Soil enrichment:
Clovers and legumes enrich the soil by taking up atmospheric nitrogen in nodules in their roots. They are able to achieve this because they are a host to a bacterium, Rhizobium. The relationship between these plants and Rhizobium is symbiotic, meaning they are mutual beneficiaries. The bacteria are fed by the plant and the plant is fed by the bacteria. Plants cannot use nitrogen the way it exists in the atmosphere. Rhizobium converts atmospheric nitrogen into a useful form for plants and animals to utilize. Rhizobium takes up residence in the plant’s root system and forms nodules. Clover and other legumes are susceptible to this type of bacterial “infection” and that is why these plants are great fertilizing plants.!
There are lots of professional landscape designers out there who can help you put together beautiful flower beds but most of us are on a budget that won’t accommodate such wonderful swaths of elegant beds. So, for the rest of us, here is, garden design 101, a few basics to consider when planning your spaces for lots of color for as long as possible.
Tall in Back, Short in Front
This is one of the three basic rules in landscape design that you should consider when deciding what to plant where. This stems from the traditional English Cottage Garden look with Hollyhocks, tall grasses and climbing roses in the back and shorter flowers, (such as poppies) in the middles and even shorter ones (think thyme or even trailing plants like nasturtium), closer to the front.
Color Combinations
Get out that school color wheel for some great ideas of combinations that are either across or next to each other. Some personal favorites are the unexpected ones, like orange and purple next to each other. If you prefer pastels, then pinks and pale blues and yellows are the way to go. Don’t neglect white because you don’t think that it is a real color. It highlights and adds accent next to some colors (such as red) and adds softness to blues and pinks.
Bloom Time
If you want color in your flower beds all year long you have to think about when they bloom. Some of the earliest flowers can be provided by Hellebores, Snowdrops, Crocus, Iris and early Daffodils (there are a huge range of choices in bulbs from Daffodils that will begin in early March and continue into late April and the same goes for some of the more “wild” or “species tulips”) and the later ones being Sunflowers, asters and repeating roses. There are options for all season bloomers such as pincushion flowers and the Frikartii Asters. In the heat of July you can depend on Hummingbird Mint, Coneflowers, and Rudbeckia to provide cheerful blooms. Don’t forget to include grasses which can also range in the times when their inflorescences are at their peak depending on whether they are cool or warm season “bloomers”. Grasses also create interest in the garden during the winter and provide food for small birds.
A Couple of Other Suggestions
Consider planting in groups of odd numbers rather than just one plant which creates swaths and clumps of color.
Repeat some of these groups several times in several places throughout the garden to give a sense of continuity.
Use a larger perennial, some half-buried rocks or a shrub to anchor the scene.
Add some annual flowers such as sunflowers, zinnias and annual poppies which bloom for a long time in bright, vibrant colors.
Do you have limited space to grow your vegetables in? Small yard, only one raised bed, or even just containers on a porch or deck? Way back when (1981, in fact), PBS ran a series of shows with Mel Bartholomew which showcased how he divided a 12-foot x 12-foot plot of raised or in-ground vegetable gardens into squares. There were many different possibilities for square foot gardening in the size of these areas by making some of the squares either larger or smaller but the basic idea was to figure out how much room was needed for each type of plant and to adjust the squares accordingly. For example, you might want more tomatoes and less lettuce or vice versa and would change the sizes of the squares to your personal preference. Some plants can be planted closer together which results in a more dense area of vegetables that maximizes space. The net result from gardening in this manner showed that the veggies were less expensive, used less water, took up less space, used fewer seeds and required less work on the gardener’s part as the squares were easier to reach and did not need as much weeding. All in all, for gardeners with limited space, consider dividing your veggie beds into sections with your family’s favorites as you dream of all of those seed choices and plan your 2018 garden. The original book that started the revolution is still in print and there are several others with additional tips and tricks including one just for gardening in containers.
Opening in independent theaters this week is a wonderful “gallery film” The Artist’s Garden: American Impressionism. It’s a new movie about art and gardens opening across the US and the U.K. beginning March 26th, so check out your local listings right away. Here’s the description of the film written by its producers more artistically than I can recreate:
“Taking its lead from French artists like Renoir and Monet, the American impressionist movement followed its own path which over a forty-year period reveals as much about America as a nation as it does about its art as a creative powerhouse. It’s a story closely tied to a love of gardens and a desire to preserve nature in a rapidly urbanizing nation. Traveling to studios, gardens and iconic locations throughout the United States, UK and France, this mesmerizing film is a feast for the eyes.”
Here’s a link to the trailer: https://m.youtube.com/watch?v=cfvWwluoB9E
You can find a screening near you here: http://www.exhibitiononscreen.com/en-uk/find-a-screening?cmbCountry=United+States#
https://bbbseed.com/wp-content/uploads/2026/01/47710_BBB_Logo_HiRes_Transparent_1023-01-removebg-preview.png00Sandy Swegelhttps://bbbseed.com/wp-content/uploads/2026/01/47710_BBB_Logo_HiRes_Transparent_1023-01-removebg-preview.pngSandy Swegel2017-03-24 12:46:172025-06-23 15:00:21A New Movie About Art and Gardens
“My garden is illiterate. It didn’t read the book about what it can’t do.”
That was the wisecracking opening remark at a gardening talk I attended recently. We all laughed and during the break we started talking about some of the stupidest plants we know.
Looking at wild plants, we laughed about orchids native to cold, arid Colorado. But the most illiterate plants are the ones we humans planted because we didn’t know better.
The plants that don’t know they can’t survive in Zone 5.
Pineapple sage don’t you know anything? You like living in semi-tropics. What are you doing living another year in the Colorado clay soil iris garden with 70 mph winds?
The plants that don’t know that being an annual means can’t live longer than one year.
Yep Verbena bonariensis I’m talking about you. The books say you are an annual but I’ve watched you survive for three years in a row. Ditto snapdragons…I have trees younger than you.
Plants that don’t know they are supposed to be invasive.
I’m waiting for you, bamboo. Any day now you’re supposed to fill in that entire border between my yard and my neighbor’s ugly garage. Sure, four years ago I saw one runner into the grass…but what have you done lately?
Codependent plants.
These are the plants that not only don’t know they can’t survive but also put up with terrible abuse. Don’t be sweet-talking me Japanese Maple. You know who you are. You croaked all those times I planted you in protected areas and nurtured you with extra mulch in winter and water in summer. But the year I put you, a tree, in a pot with six other plants on a third-floor deck without protection from the cold and without winter watering…that’s the year you survive?
If it were up to humans, we’d never have surprises in the garden or tulips blooming in July or scabiosa blooming in December literally under the snow. Or the gallardia that blooms in my driveway. We won’t even mention the weed that seeded and bloomed in my truck bumper the December I was driving around Louisiana.
What a relief that our plants are so darn illiterate.
This could be a perfectly beautiful early Spring. We’ve had a week of warm sunny weather that is waking up the daffodils and tulips. Birds are flitting about and energetically singing out mating calls. It’s a joyful break from dark winter days. But then there’s the wind. Chinook winds. Or as they were called the year I lived in the Alps, “scheiss foen.” Everyone understood if the foen had arrived that you could be in a foul mood because of the irritability and headaches from the air pressure changes these mountain-made winds caused.
Wind can have devastating effects on a garden. Sure the strong winds can break stems and tree branches, but the greatest stressors comes from the drying effects of the winds. Plants close their stomata (leaf pores) to reduce water loss, but that slows the plants’ ability to grow. The winds desiccate the plant tissue and dry out the top inches of the soil meaning the plants need more water. Even plants under snow cover can get very drought stressed because the winds evaporate the snow before it can melt.
If it’s going to be a windy season, I make a few mental changes in my garden plans. Here’s things to consider if you have a windy garden:
Use more drought tolerant plants.
Increase your watering after the winds die down.
Grow shorter plants.
Grow plants like lavender with thinner leaves that won’t desiccate so easily.
Plant some tall ornamental grasses through the flower garden. They look beautiful in the wind and provide some wind break protection.
Plant evergreens as windbreaks.
Consider a garden wall.

 Opening in independent theaters this week is a wonderful “gallery film” The Artist’s Garden: American Impressionism. It’s a new movie about art and gardens opening across the US and the U.K. beginning March 26th, so check out your local listings right away. Here’s the description of the film written by its producers more artistically than I can recreate: