Anise Hyssop
Herb of the Year
By Heather Stone
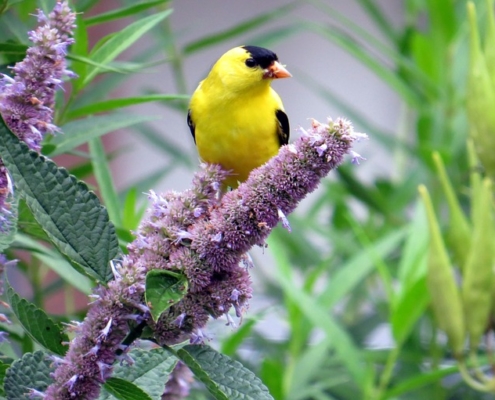
photo courtesy of pixabay
Every year since 1995 the International Herb Association has named an Herb of the Year. This year’s selection is Anise hyssop, Agastache foeniculum. This North American native wildflower has a lot to offer in the garden, the kitchen, the medicine chest and to the pollinators.
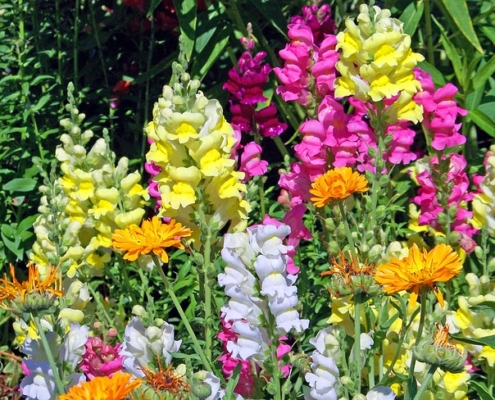
Anise hyssop is native to the Upper Midwest, Great Plains and into Canada. It’s found growing in prairies, dry upland forests, plains and fields from Northern Colorado to Wisconsin in the US and from Ontario to British Columbia in Canada. Anise hyssop is a member of the mint family. It grows best in full sun to part shade in dry to moderately moist soils with good drainage. This low maintenance perennial thrives in zones 4-9 reaching heights on average of 1-3’ tall by 1-3’ wide. Beautiful lavender flower spikes bloom in summer and with regular deadheading will continue until fall. The flowers are edible and make for a nice cut and dried flower. Both the flowers and the leaves can be added to baked goods or salads. My favorite way to use them is finely chopped in a fruit salad.
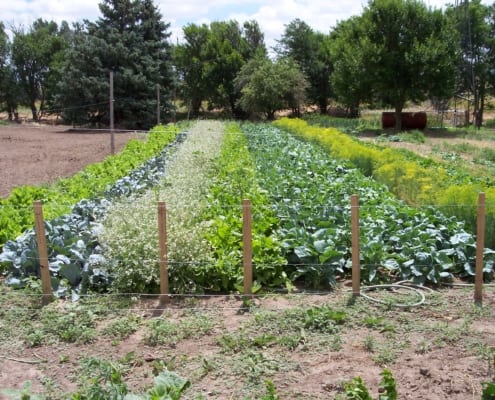
Anise hyssop is easily grown from seed and established plants will spread by rhizomes or will self-seed in the right growing conditions. It also transplants easily. Deer tend to leave this plant alone, but the same can’t be said for rabbits. Anise hyssop works well in the middle or back of the border and is at home in native, wildflower and herb gardens as well as in prairies and meadows. Great companions for anise hyssop include Black-eyed Susan, Purple Coneflower, Bee Balm and native grasses. Anise hyssop also looks fantastic in pots mixed with flowering annuals.
While the flowers of this plant have no scent, the leaves of anise hyssop smell and taste like licorice with notes of lemon, pine and sage. Native Americans found the scent uplifting and used the leaves to help treat depression. This was but one of many uses the Native Americans had for Anise Hyssop. It was also used externally as a poultice to treat wounds and burns and as a wash for itchy skin irritations such as poison ivy. Internally, it was used for treating diarrhea, fevers and coughs. Anise hyssops’ antibacterial, anti-inflammatory and expectorant properties make it an excellent herb for soothing coughs and relieving chest congestion. I find it to be especially effective in children. The best time to harvest leaves for use is just past full bloom when the oil content in the leaves is at the highest.
Anise hyssop is also a favorite plant of many pollinators. The lavender flowers are a good nectar source and highly attractive to bumblebees, native bees, honey bees, butterflies, hummingbirds and beetles. Goldfinches love to feed on the seed so make sure to leave some flowers standing in the garden at the season. So let’s celebrate 2019 by adding a plant or two of Anise Hyssop to the garden this year.