Don’t Pass On Peas
Tips for Successfully Growing Peas
by Heather Stone
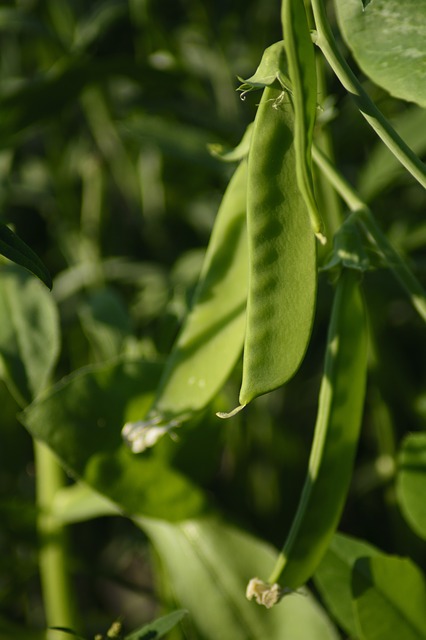
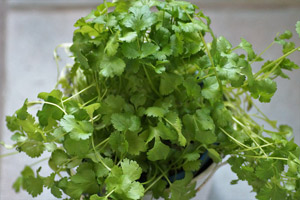
Image by Reginal from Pixabay
Plant Green Peas for one of the first crops in the spring. As soon as you can stick your finger into the soil you can plant peas. Whether you plant shelling, snap or snow peas this early crop loves the cool weather of spring, producing tender pods that are hard to resist. More often than not, they are eaten straight off the vine right there in the garden, very few making it to the kitchen. Every year I always wish I would have planted more.
Planting green peas should happen as soon as the soil can be worked, about 4-6 weeks before your average last frost date. For best germination, soil temperatures should be around 50 degrees F. Do be cautious of excess moisture. You don’t want your seeds sitting in wet soil.
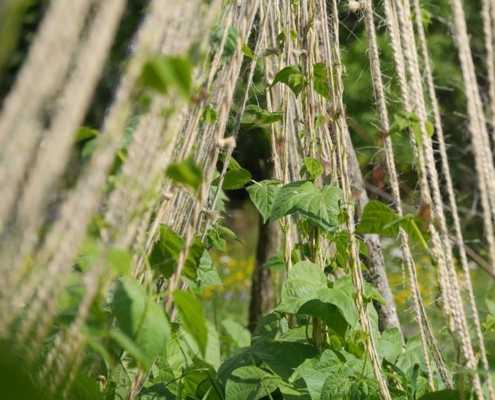
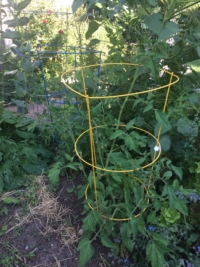
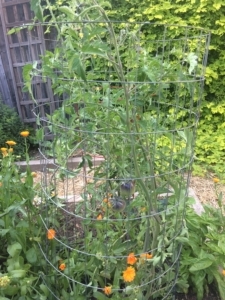
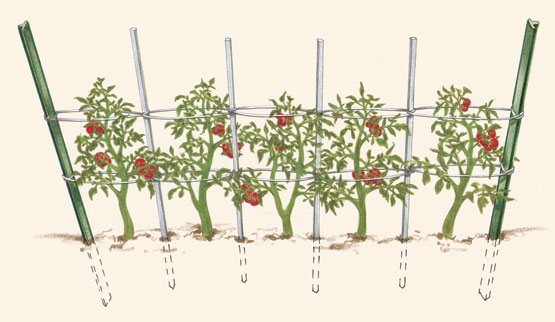
Before planting, soak your seeds overnight. This will help speed germination. Plant seeds about 1” deep and 2-3” apart in well-loosened soil in a sunny spot in your garden. Peas will also do well in part shade. Give your peas a trellis, as most peas need something to climb on. Keep the area moist until the seeds germinate, on average between 7-14 days.
Green Peas are an easy crop to grow. Keep the plants moist, especially once they start producing. When they reach 8-12” tall mulch your vines well to keep the soil cool and help retain moisture. Peas grow best in temperatures below 70 degrees F, so plant your seeds early. Once temperatures reach 80 degrees the vines tend to stop producing.
When the peas begin to ripen, harvest daily and be sure to use two hands to pick. Use one hand to hold the vine and the other to pick the peas. This way you will avoid damaging the tender vines. For the crispiest peas, pick in the morning after the dew has dried. Peas will last about 5 days in the refrigerator (if they make it there) and any extra freeze well.
Like all legumes, peas fix nitrogen in the soil that other plants can use. When your peas are done for the season, remove the vines but leave the roots in the ground. Plant a nitrogen-loving plant in the area that can benefit from the extra nitrogen in the soil.
Don’t wait! Get out in the garden and plant some peas today! Try one of our tried and true varieties such as Sugar Ann, Oregon Sugar Pod or Green Arrow.
![]()