Tag Archive for: Seeds

Saving Seeds

Saving Seeds from Heirloom VegetablesSaving seeds from heirloom vegetables.

What are “heirloom” vegetables? An heirloom vegetable is a non-hybrid, open-pollinated variety that has been passed down from generation to generation and, in some cases, can be traced back hundreds of years.  These seed lines have been carefully selected to maintain uniformity and consistency for germination.

Heirloom seeds become ‘heirloom’ because they exhibit exceptional traits desired by the gardener.  Often this means the plants are more colorful, flavorful, and unique, or have great germination and vigor.  Often the traits are location-dependent.  Meaning, seeds planted in one garden will not produce in the same manner in another location.  We encourage you to try heirloom seeds, see which have the qualities for your area to become your favorites and make them into your own very special seed line.  Seed saving from heirloom vegetables is easy and fun.

Gardeners have found that as seeds are selected and saved over many years, production is increased and the quality is improved, creating plants that will produce best for that locale and will resist diseases and pests of that locale.  Contributing to genetic diversity strengthens the ecosystem. Historically farmers and local gardeners have created and sustained this rich genetic heritage by learning to save their own seeds from varieties that perform best in their own mini-ecosystems.  The current trend toward mono-crops where only one seed type is used to produce a crop worldwide is eliminating the ability to be able to find genetic variations that will withstand emerging pathogens and climate changes.

Planting your crop:

Start with good Heirloom Seed varieties.  Keep in mind that to allow the plants to produce seed and to allow the seed to fully mature, you will have to allow for a longer growing season.  This can be done by starting plants indoors and arranging for protection from frost in the late season. You will grow some for food or flower harvest and some for seed production.  Fully mature seeds will be viable (able to germinate) and produce vigorous plants.  You may want to do some research on the different flower types for proper pollination techniques and plant with row/species separation in mind, to prevent cross-pollination.

You also may look into caging procedures to isolate species that are in flower at the same time.  By caging different plants on alternate days, you can take advantage of the pollinators to do the work without cross-pollinating your crop.  Cage one plant or group on one day and early the next day, before the bees wake, transfer your cage to a different plant or group.  Some crops are biennial and do not produce seed until the next year, so you will need to determine whether you should leave the roots in the ground over the winter or dig and store them.

There are many publications with detailed information on seed-saving and growing techniques for each species.  “Seed to Seed” by Suzanne Ashworth, 2002 by Seed Savers Exchange, Inc. is a good way to get started. Also, check out these easy instructions for seed saving, written by the International Seed Saving Institute, a non-profit established to teach seed saving.

Why save seeds:

When you grow crops using your own saved seeds from your best plants for next year’s crops, the seeds begin to adapt to the growing conditions (temperature, moisture levels, pests, diseases, and so forth) that exist in your garden.  This adaptation makes your garden stronger over time.  Seeds that are used to grow crops year after year have the opportunity to adapt to incremental climate changes.  As global temperatures change, these plants will have a better chance at survival and productivity.  A single plant from a single seed can produce dozens or hundreds of seeds, increasing your seed stock exponentially.  Sharing and exchanging seeds with other gardeners, community gardens or seed libraries helps to increase the diversity of everyone’s collections.

Harvesting and collecting seeds:

When saving seeds from heirloom vegetables, look for favorable characteristics such as; freeze and cold tolerance, heat tolerance, adaptability, winter hardiness, early maturation, vigor (strong germination, and growth), flavor, color, size, texture, etc. Also, look for desirable traits such as; vine or plant type, seed type, and specific disease resistance.  Plan to be ready to harvest the seed as they mature.

– Collecting dry seed:

It’s easy to save seeds from plants that produce pods, husks, and other dry casings such as peas, beans, and flowers.  The technique is called “dry processing” and is faster than collecting seed from fleshy, pulpy fruits such as tomatoes and cucumbers.  Seeds that are dry-processed can be allowed to dry right on the plants unless there is wet weather in the forecast.  Seeds often fall where they may, naturally, little by little.  Often the pods will pop open when you are not around to collect the seed and it will be lost.  Allow the seed pods to remain on the plant in the ground for as long as possible.  Usually, the seed will not continue to mature after the pods are cut from the plant. To collect the seeds easily as the seeds begin to mature, secure paper bags over the seed heads and attach them to the stems of the plants.  As they mature they will drop into the bags.

Separating the seeds from the chaff (dried pods and stems) is called threshing.  Commercial threshing is done by multitasking machines that can harvest, thresh, and winnow the seeds all at once.  For the home gardener, a bag, pillowcase, or small sack is all that’s necessary.  Put the seeds into the bag, secure the ends, and roll it around, lightly crushing and breaking up the pods a bit.  Be gentle so you don’t damage the seeds, but just loosen the chaff.  For tinier seeds, you can just put them on a board and crush them with your fingers.

Then you will need to winnow the chaff from the seeds.  Place the seeds in a bowl and gently blow on them to remove the lighter-weight chaff.  Swirl the seeds around and continue blowing gently until most of the chaff is removed.  Another option is to use a screen or sifter where the holes are smaller than the chaff to simply sift them apart.

– Collecting seeds from pulpy fruits:

Pick the best, most ripe (even to the point of over-ripe) tomato, pepper, cucumber, etc.  Choosing an over-ripe veggie will ensure the seed has fully developed.  If you wait for a frost or freeze before you pick the fruit or veggie, most of the seed will not be developed enough to be viable next year.

Cut open the fruit and scoop out the seeds or for small fruits like cherry tomatoes, simply squeeze the seeds out into a glass jar.   Add a little water and label the jar with the seed variety.  The seeds usually are surrounded by a gel that inhibits germination.   Leave for two to five days to begin fermenting. This will break down the seed coat while killing off many of the harmful bacteria and fungi lurking on the seeds.  Swirl the contents in the jar every day.

When the pulp floats to the top, the seeds are ready for cleaning.  Most of the seeds will have sunk to the bottom.  Carefully skim off the pulp then tip the liquid and seeds into a strainer. Wash the seeds under running water, using the back of a wooden spoon to carefully remove any remaining material stuck to the seeds.  Spread the seeds onto a paper towel to remove most of the water, then transfer them to a non-stick surface such as a dinner plate. Dry the seeds in a warm place out of direct sunlight. It will take two to three weeks for the seeds to completely dry out.

Make sure you label the seeds with their name and the date they were collected immediately after you have finished harvesting each variety.  Excellent record-keeping is your best friend when it comes to seed-saving.  It’s amazing how easy it is to mix up seed varieties!

How long do seeds last?

If you keep your seeds in a cool dry place, your seeds can last for years.  These things are seed killers: excess moisture, excess heat, light, and rodents.  Some seeds last easily for years. Others only last one year before the germination rate goes down.

Here is a chart from the Chicago Botanic Gardens on longevity in vegetable seeds as well as one from Iowa State University extension.

Seeds that have passed their prime for producing viable plants can be used to scatter as a cover crop, for bird seed, for eating, or for cooking (as in herb seeds).

4 Ways to Compost in Winter

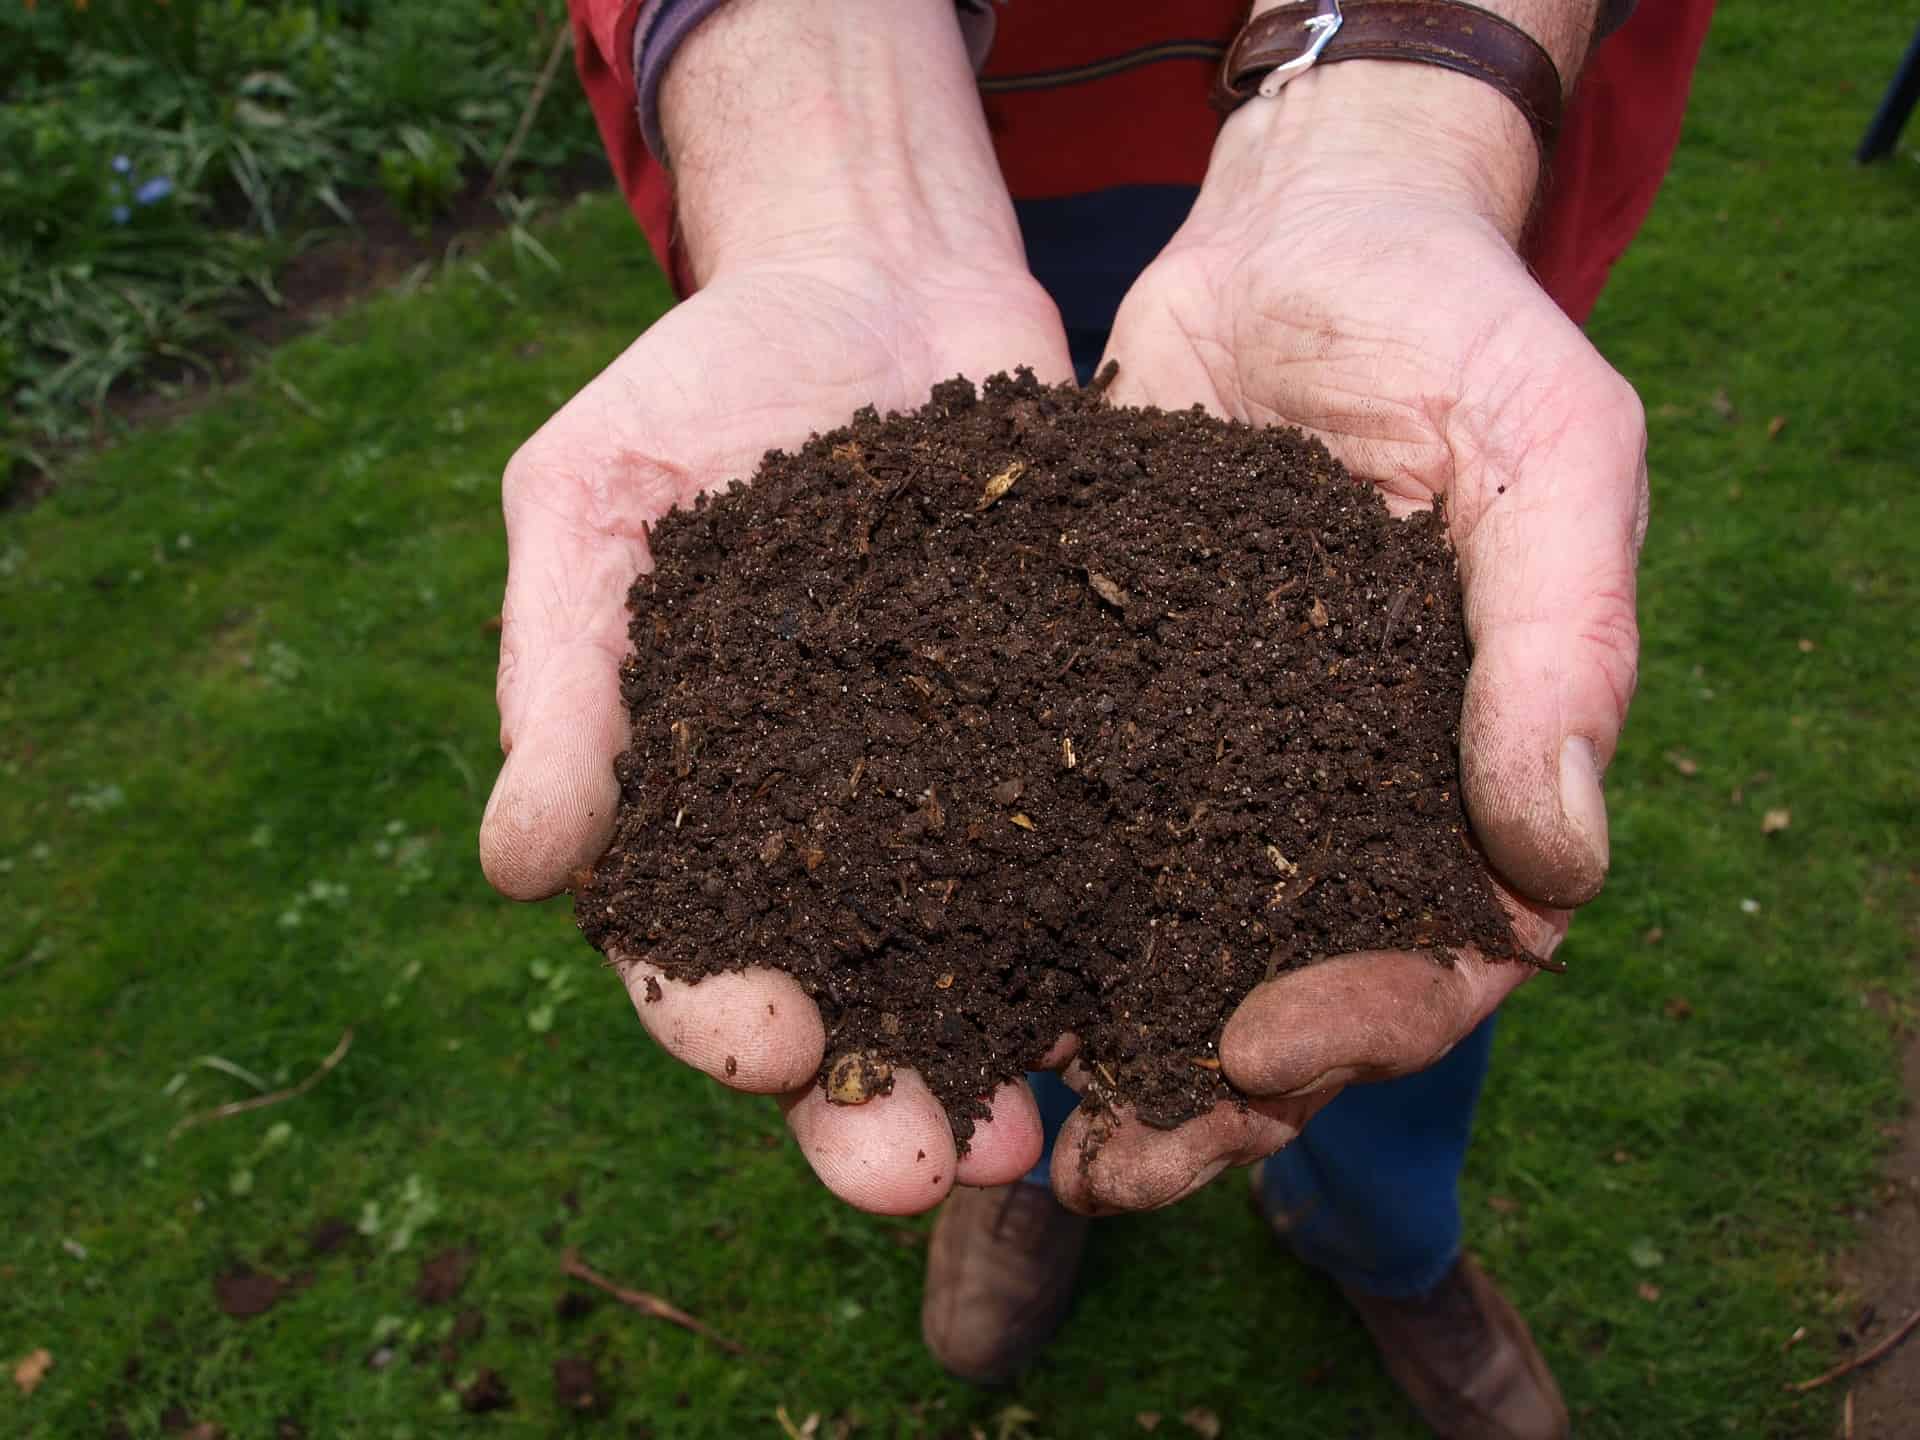
Composting in Cold WeatherPhoto of hands holding fresh compost.

by Sandy Swegel

It snowed yesterday.  It’s going to snow again today.  This makes me so happy because it means I get a vacation from work.  My gardening business is a lot like a teacher’s schedule.  Work like crazy most of the year then I get a wonderful interlude to catch up on the rest of my life.  Working in the garden may come to an end during Colorado winters, but eating usually continues and we continue to make lots of food scraps that any gardener would hate to waste.

When I lived on acreage, I did all my food composting by sending it through the chickens.  The backyard chickens loved food scraps and eagerly ran around when I brought the compost bucket. Even if it was just onion scraps and things they didn’t like to eat, they relished scratching it around and mixing it with the coop bedding and poop. Spring compost in the making.

Without chickens, there are still ways that you can compost in winter and capture your kitchen scraps:

1. Use your regular compost bin

I empty mine to about ¼ full of compost in progress with lots of worms.  I fill it all the way to the top with dry leaves and sort of hollow out the center. The leaves don’t freeze solid and all winter I drop the scraps down the middle of the leaves.  The leaves provide some insulation and the food scraps and leaves at the bottom of the pile are warmed enough by the earth that a tiny bit of composting keeps happening even when temps get well below freezing. The earthworms are slow but still keep working and reproducing.

2. Compost in a protected sunny spot

Keep a plastic (black if possible) bin against the house on a sunny side.  I started with the bin half full of partially finished compost that hopefully has some worms already busy in it.   The center, next to the ground, will stay unfrozen so the worms will stay alive.  The compost probably won’t process much over the winter except on sunny days.  You may need to secure it against raccoons or other varmints.

3. Make a trench

This takes a bit of planning before the cold weather arrives, but produces amazing results and saves time and labor.  Dig a long trench right in the garden…about a foot deep and a foot wide.  Leave the soil heaped right next to the trench with a rake nearby.  I left the excavated dirt on the side of the trench. Every time the indoor compost bin was full, I just took it out to the garden and dumped it into the trench.  If things weren’t too frozen, I pulled some of the excavated dirt on top of the food scraps. If there was snow on the ground, I just put the scraps on top, and eventually, it fell into the trench.

This process attracts all the worms to the trench.  Some composting takes place in the Fall but most decomposition happens in early Spring.  By early May, when it’s time to plant tomatoes, the compost is broken down enough that I can transplant my tomatoes directly into the filled trench that is crawling with decomposers and happy earthworms.  If it was a very cold winter and the compost isn’t finished, just plant right next to the trench.  Some people like to compost in trenches all year.  They set up a three-year rotating system where they compost one year, plant the next and use the area as a walkway the third year.  Pretty clever!

4. Make a windrow

John, the Worm Man, Anderson in northern Colorado keeps his worms happy all winter by setting up short windrows of compost, food scraps, and worms.  He throws old carpet or tarps over the top.  Periodically, he lifts the carpet and puts new scraps on top of the piles.  The worms slow down in winter but keep working and reproducing.  For small households, just make a pile on the ground and cover it with a tarp.  The tarp keeps moisture and some heat in.  Just slip the food under the tarp.  Worms show up.   This doesn’t work so well if you have raccoon or mice and rat issues.

Photo of a windrow compost

A Trio of Morning Glories to Welcome Spring

The Morning Glory

By Engrid Winslow

Morning Glories are one of the easiest annuals to start from seed. In some areas, they will re-seed from last year’s dropped seed and some varieties may even be perennial in mild climates. After an overnight soak in water, plant the seeds about 1/2 inch deep and then stand back and watch!

Best started in fertile soil with adequate moisture during germination and early growth, morning glories can produce vines up to 15 feet long and will clamber over gazebos, fences and trellises with their twining limbs. Some gardeners even grow them up a downspout and along a roofline or up into the limbs of a tall tree. They can be so vigorous as to choke out other plants nearby and can be vigorous re-seeders which grow best in average soil and full sun.

They are called “morning glory” because they bloom early in the day and the petals deflate and fall off in the evening. The Morning Glory was first cultivated in China for its medicinal uses, due to the laxative properties of its seeds. It was introduced to the Japanese in the 9th century, and they were the first to cultivate it as an ornamental flower. The Japanese have led the world in developing varieties and the colors range from blue and pink to red, purple, lavender, white and even brown. The flowers are attractive to hummingbirds, butterflies, and bees.

Tag for the Heavenly Blue Morning Glory seed packet.

Here is a trio of Morning Glories:

Heavenly Blue Morning Glory

(also called Clarke’s Heavenly Blue) blooms with 5-inch flowers all summer and is an heirloom variety dating back to the 1920s. It is a lovely blue with a white center. These are one of the most easily recognized and popular of all morning glory varieties and can be up to 12 feet long.  The foliage is an attractive heart shape.

Grandpa Ott’s Morning Glory

bears velvety deep-purple flowers with red stars at their center. This self-sowing annual was originally grown by Grandpa Ott, a Bavarian immigrant, who lived on a 40-acre farm in St. Lucas, Iowa and was preserved by the family in conjunction with the Seed Savers Exchange. This one can climb to 15 feet tall if given support to grow on. Grandpa Ott’s grows very quickly, spreads easily and looks stunning. It will also adapt to part shade.

Tag for the Grandpa Ott's Morning Glory seed packet.

Moonflower

Although also called “morning glory” start to bloom in the late afternoon and close in the morning light. If the day is overcast or cool and cloudy they may stay open for a longer period. Moonflower is fragrant enough to perfume the air within 6 feet of the blossoms and loved by hummingbirds and night moths, including the large Sphinx Moth. The blooms are 5-6 inches across and the vines can grow up to 20 feet. They are native to tropical and subtropical regions of the New World, from northern Argentina north to Mexico and Florida.


Our Most Popular Wildflower Seed Mixes May 2019

Wildflower Seeds

What is a wildflower? Well, a wildflower is any flowering plant that has not been altered from its wild state. These plants have had no selective breeding, no genetic modification, and are all natural! These little beauties can be found in nearly any environment; from mountains to prairies, swamps to deserts! Wildflowers provide vital habitats and forage for wildlife, like our favorite butterflies and bees, and beautiful sights and scents for us lucky gardeners.

We take our favorite wildflower seeds and blend them into these mixes specially formulated for unique regions, conditions, and uses. We make sure to use fresh, high quality, open-pollinated, GMO-free seeds because you deserve to have a successful, healthy, and fun planting experience. Our mixes are all seed with none of the fillers that you might find in other mixes because we believe you should get what you’re paying for.

Click here if you have any questions about how to select your site, plant, or care for our wildflower mixes!

Here are our most popular wildflower seed mixes:

1.     All Annuals Wildflower Mix

All Annuals Wildflower Mix

We love Annuals! This mix brings vibrant and long-lasting color to any site. This mix includes great wildflowers including Scarlet Flax, California Poppy, and Desert Bluebells that will add immediately to any drab or “worn out” spots on your property.  This mix also reseeds well, so you can enjoy these annuals year after year!

Find it here.

2.     Wildflowers for Shade Mix

Wildflowers for partial shade.

Not every spot in your garden is going to replicate the open, sunny meadows most wildflowers are adapted to. We understand and think that every inch of your space deserves to be colorful and wild! That’s why we came up with our Wildflowers for Shade Mix! This mix is a blend of annuals and perennials that are tolerant to partial shade. This mix has over twenty annual and perennial seeds to ensure that you get great color and varied blooms for years after you first planted.

Get the Wildflowers for Shade Mix here!

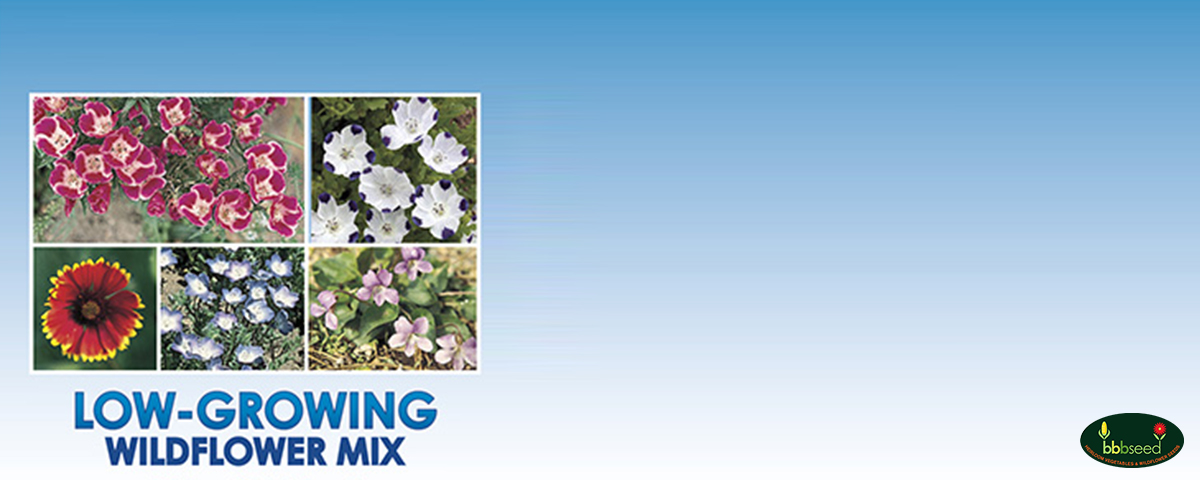
3.     Low-Growing Wildflower Mix

Low growing wildflower mix.

The Low-growing Wildflower Mix is the perfect mix for people who want the wildflowers but not the wild height! While some wildflowers can get up to three feet tall, this mix is designed to grow low and compact (6-12 inches). We really dig (pun intended) how manageable and controlled this mix grows. It includes poppies, clover, and flax for a great mix of color and shapes that will make your garden the talk of the town (in a good way)!

Buy the Low-Growing Wildflower Mix Here!

4.     Fragrant Wildflower Mix

Fragrant wildflower mix.

What’s better than waking up on a cool summer morning, walking outside, and being greeted by the smell of a field of beautiful wildflowers? How about a field of wildflower that you planted yourself! Sounds perfect to us! Our Fragrant Wildflower Mix is one of our personal favorites. We hand selected the flowers this mix of annuals, perennials, native and introduced wildflowers to grow well in many geographical regions and to smell wonderfully aromatic!  Plant this mix around your patio and walkway and be greeted by its wonderful scent every time you stroll by.

Get it here and start smelling the Primroses!


5.     Deer-Resistant Wildflower Mix

Deer Resistant Wildflower Mix

Nothing is more frustrating than toiling in the garden, planting seeds and starts, caring for them, and proudly watching them grow than to come out one morning to see a family of deer happily munching away at your precious plants! We get it. That’s we created the Deer-Resistant Wildflower Mix to include species that deer and elk will usually avoid if another preferred forage is available. This mix includes perennials that will begin blooming during their second year. Now you can enjoy the beautiful deer (and elk) in your area without stressing out about your garden!

The Deer-Resistant Wildflower Mix can be found here.

One Last Thing

At BBB Seed, we are deeply committed to providing the highest quality grass, wildflower, and grass seeds to empower our customers to get out and grow! This list of our Most Popular Wildflower Seeds is intended to be a useful resource for you to see what products our customers and we are enjoying right now!

We also are incredibly concerned about providing sustainable and environmentally conscious products to you. We source seeds that are non-genetically engineered, tested, and grown sustainably. We hope these products will help you enjoy nature and learn about this wonderful world in the garden. We also strongly encourage you to visit our Pollinator Action Page to learn about the pollinators that make our natural world possible and learn more about what you can do to help them. Thank you!

Grow. Enjoy. Share…the beauty and the bounty!

Don’t Pass On Peas

Tips for Successfully Growing Peas

by Heather Stone

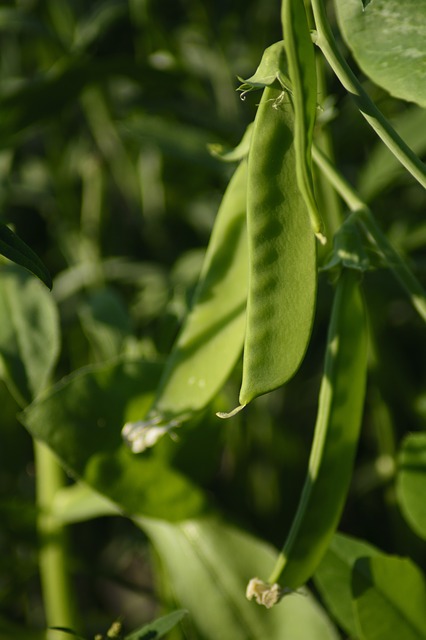
Green Sugar Snap peas on the vine.

Image by Reginal from Pixabay

Plant Green Peas for one of the first crops in the spring. As soon as you can stick your finger into the soil you can plant peas. Whether you plant shelling, snap or snow peas this early crop loves the cool weather of spring, producing tender pods that are hard to resist.  More often than not, they are eaten straight off the vine right there in the garden, very few making it to the kitchen. Every year I always wish I would have planted more.

Planting green peas should happen as soon as the soil can be worked, about 4-6 weeks before your average last frost date. For best germination, soil temperatures should be around 50 degrees F. Do be cautious of excess moisture. You don’t want your seeds sitting in wet soil.

Before planting, soak your seeds overnight. This will help speed germination. Plant seeds about 1” deep and 2-3” apart in well-loosened soil in a sunny spot in your garden. Peas will also do well in part shade. Give your peas a trellis, as most peas need something to climb on. Keep the area moist until the seeds germinate, on average between 7-14 days.

Green Peas are an easy crop to grow. Keep the plants moist, especially once they start producing. When they reach 8-12” tall mulch your vines well to keep the soil cool and help retain moisture. Peas grow best in temperatures below 70 degrees F, so plant your seeds early. Once temperatures reach 80 degrees the vines tend to stop producing.  

When the peas begin to ripen, harvest daily and be sure to use two hands to pick. Use one hand to hold the vine and the other to pick the peas. This way you will avoid damaging the tender vines. For the crispiest peas, pick in the morning after the dew has dried. Peas will last about 5 days in the refrigerator (if they make it there) and any extra freeze well.

Like all legumes, peas fix nitrogen in the soil that other plants can use. When your peas are done for the season, remove the vines but leave the roots in the ground. Plant a nitrogen-loving plant in the area that can benefit from the extra nitrogen in the soil.

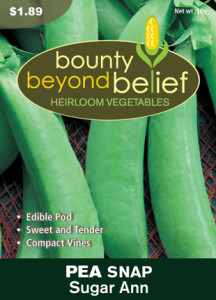
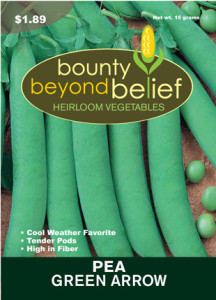
Don’t wait! Get out in the garden and plant some peas today! Try one of our tried and true varieties such as Sugar Ann, Oregon Sugar Pod or Green Arrow.

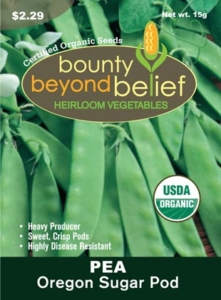
Packet of Oregon Sugar Pod Pea seeds. Pea, Sugar Ann Pea, Green Arrow


IT’S ALL ABOUT THE SNAPDRAGON IN 2019

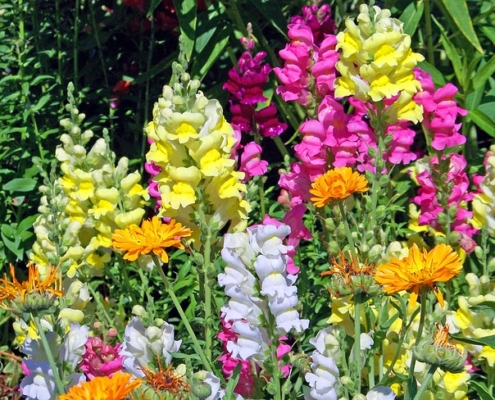
Photo of many snapdragon flowers in bloom.

photo courtesy of pixabay

Wildflower Seeds

By Engrid Winslow


Snapdragons (Antirrhinum majus) are one of the most widely grown and well-known flowers in the garden for many reasons. Children adore them because of the distinctive bloom of the dragon’s head shaped flowers with mouths that open and close when squeezed from both sides. Many gardeners associate them with memories of their parents’ or grandparents’ gardens and they come in every color of the rainbow and beyond with shades from white to a purple so deep it almost looks black. They can be short or tall, bloom for a really long time and are easy to grow in full sun to part shade. Usually blooming in cooler weather in the spring and fall, they can bloom in hotter months if given additional water and deadheaded regularly. Snapdragons are useful as perennials because they often overwinter or as annuals in planters. They are a lovely addition to a cottage-style garden, pretty in bouquets and are not too fussy about soil type, although they do better with the addition of organic matter. They can even tolerate dry conditions. On top of all that, bumble bees love them and they are lightly fragrant. The National Garden Bureau has named the Snapdragon one of its 2019 plants of the year: ww.https://ngb.org/year-of-the-snapdragon/

Snapdragons are readily available as plants but they are so easy to grow yourself from seed if you decide to give them a try. They germinate better if placed in the freezer for a couple of days before planting and should be started sometime in February for spring planting. They do need light to germinate and since the seeds are tiny, press them into the top of the soil and water them from the bottom. They take 1 to 2 weeks to germinate and should be pinched back once they have 6-8 leaves to encourage a stronger stem. Plant your starts outdoors about the time of the last frost once they have been hardened off. https://bbbseed.com/care-planting-seedlings/

For additional helpful information about starting flowers and vegetables from seed check out this past blog: https://bbbseed.com/ez-indoor-seed-starting/

BBB Seed’s Wildflowers to Attract Butterflies and Birds

Wildflower Seeds

by Heather Stone

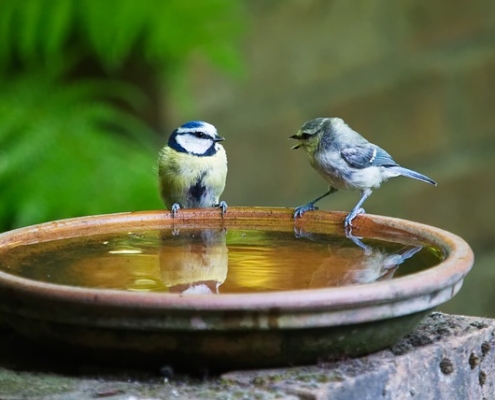
Photo of two birds on a birdbath.

Photo courtesy of pixabay

It brings great pleasure to see more birds and butterflies about the garden and we as gardeners can do a lot to attract and protect the birds and butterflies that visit our garden. These critters simply need a safe place to live and healthy food to eat.

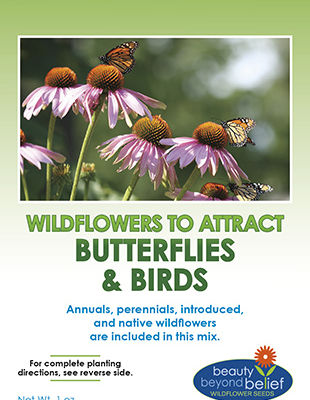
Wildflowers to attract butterfly and birds seed packet.

Butterflies

For butterflies, providing food (host plants) for caterpillars, nectar sources for adult butterflies and a safe place to overwinter can all be accomplished in a small area. Caterpillars of some species of butterflies have very specific larval host plants, while some will eat a wide range of species. Nectar is the primary food source for most adult butterflies. Planting nectar-rich plants in the garden is sure to attract more butterflies. Depending on the species, butterflies overwinter in all stages of life from egg to adult. Some places they overwinter include leaf litter, the bases of bunch grasses, rock piles, brush or wood piles, behind loose tree bark and near their host plants.


Birds

Just like butterflies birds need healthy food to eat and shelter. Start by planting native plants in your garden that provide seeds, berries, nuts and nectar. Shrubs and trees, especially evergreen species, provide excellent shelter and nesting sites for birds. Birds also need a year-round water source such as a bird bath. Providing nesting boxes and offering food in feeders will attract even more birds.

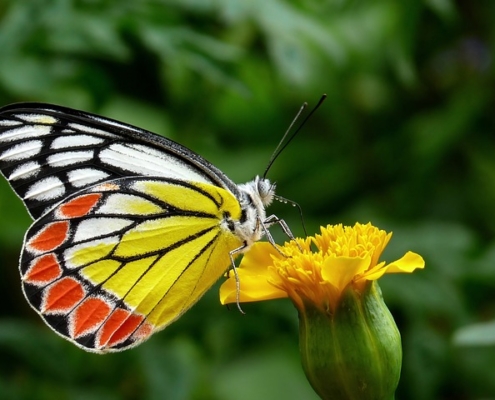
Photo of an orange and yellow butterfly on a marigold bloom.

Photo courtesy of pixabay.

Try planting our Birds and Butterflies mix to attract more birds and butterflies to your landscape. The mixture of annuals, perennials, introduced and native wildflowers is designed to attract butterflies over a long season of bloom from spring until fall and a variety of birds to the seeds come autumn.


Sources:  Gardening for Butterflies, The Xerces Society

https://www.nwf.org/sitecore/content/Home/Garden-for-Wildlife/Wildlife/Attracting-Birds

Grow Your Own Sprouts in 6 Easy Steps

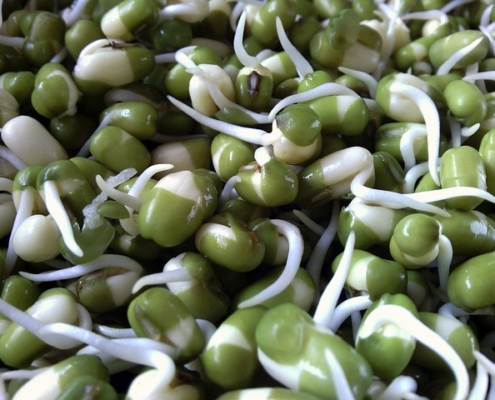
Photo of seeds sprouting.

photo courtesy of pixabay


Seed Starting

by Heather Stone

  1. Choose a container and lid

    Sprouting seeds in a jar is easy and convenient. The first step when you grow your own sprouts is to make sure to choose a jar that is large enough to accommodate the seeds when sprouted. I find a quart jar with a wide mouth to work well.  You will also need a mesh lid of some kind or thick cheesecloth to easily drain your sprouts after rinsing.  Sprouting lids can be purchased at most health food stores, online or you can easily make your own.


  1. Rinse and pick over your seeds

Carefully rinse and pick through your seeds removing any stones or debris.


  1. Soak your seeds

Fill your jar about ¾ full with cool water.  Soak your seeds overnight (8-12 hours). Soaking time will vary depending on the size of your seeds.


Sprouted seeds

photo courtesy of pixabay


  1. Drain your seeds

After soaking you will want to thoroughly drain your seeds. Tip your jar on its side and let it drain for several hours to be sure all liquid is removed.


  1. Continue to rinse and drain

For the next 2-4 days, you will rinse and drain your seeds three times a day. Using cool water, gently rinse your seeds so you don’t damage any sprouts and drain well.


  1. Final rinse and drain

When your seeds have sprouted and reached the desired length give them one final rinse and drain well.  Enjoy in salads, on sandwiches or stirred into soups. Sprouts can be stored for several days in a tightly sealed container in the refrigerator.


Some great seeds for sprouting include:

Beans (lentils, mung beans and chickpeas)

Alfalfa

Broccoli

Sunflower

Radish

Clover


Additional resources:

https://www.culturesforhealth.com/learn/sprouting/how-to-sprout-seeds-jar/

https://boulderlocavore.com/sprouting-101-homemade-sprouting-jars-tutorial-diy-mason-jars-giveaway/


Tools to be a Better Gardener

Garden Tools

by Sandy Swegel Photo of the bbbseed $25 gift card.

Today I’ve been thinking about how the garden tools I use have made me a better gardener. I have spent a lot of money over the years on tools that break or tools that seemed clever but end up unused. I garden at least twenty hours a week for other people, so my tools need to be effective and efficient as well as durable. 

(Keep these in mind if you are trying to figure out a good holiday or birthday gift for a gardener friend or relative!  One of these and a great gift card for seeds is sure to be useful and welcome!)

My Must-Have Garden Tools include:


Good Hand Pruners naturally. Felco pruners are great if you can afford them. A sharp edge is the more important feature of hand pruners and you need a high-end pruner that does have cheapo soft metal that dulls the first time you use it. I like Felcos, but Corona and Fiskars both have high-end pruners that are good. For my use, I need a replaceable blade because no matter how much you sharpen, at some point you need a fresh blade. I have hand pruners in two sizes…a smaller pair for perennial maintenance because they are lighter weight and a larger pair for shrubs, roses and trees. Last year Costco had a great deal on a generic version of Felcos in a two-pack.

A Soil Knife. The original name of this tool was a hori-hori knife and my first one came right from Japan. Now I like the bright orange soil knife from AM Leonard. The plastic resin handle holds up better than wood and the bright orange is easier to find when I lose it. You have to be careful of the extremely sharp edges (one side serrated and one side flat) but this is my combo trowel, weed digger, shovel, a garden tool for dividing perennials, etc.
Fiskars Power Gear Bypass Lopper 15 or 18 inches. I love the Fiskars PowerGear line. They really do give you more power per effort than any other lopper. I use the smaller loppers the most because they are lightweight and because they fit more easily between dense branches.

Black and Decker cordless (18V) sweeper. They don’t call this a vac because it’s not strong enough for big piles of leaves…but it’s the perfect quick cleanup at the end of working in the garden whether you’re “sweeping” a path or blowing debris lightly off of rock mulch. I also use it to sweep my kitchen floor.

Milwaukee Sawzall pruning blade. This vicious jagged blade is one of the secret weapons that let me do the work of your average 20-year-old male landscaper. Perfect for cutting trees or cutting right in the soil through old roots.

Mini Shovel and Mini Mattock Pickaxe. OK, laugh if you want, my friends do….but then they go out and get these mini tools when they see how much work they let me do. They are the same tools the aforementioned 20-year olds use in full-sized versions, but lightweight enough for me to use without ruining my rotator cuff, a common gardening injury. I use both while kneeling in the soil up close and personal to my job. Don’t get a wimpy camping pick or a garden pick made of thin metal…get the real thing in the hardware store.

Those tools and a colorful TubTrug or two, (those bendable colorful garden buckets that are worth every nickel) and you’ll find yourself able to work faster and stronger in the garden without trying too hard.

Mexican Sunflower, Pollinator Magnet!

Wildflower Seeds

by Heather Stone

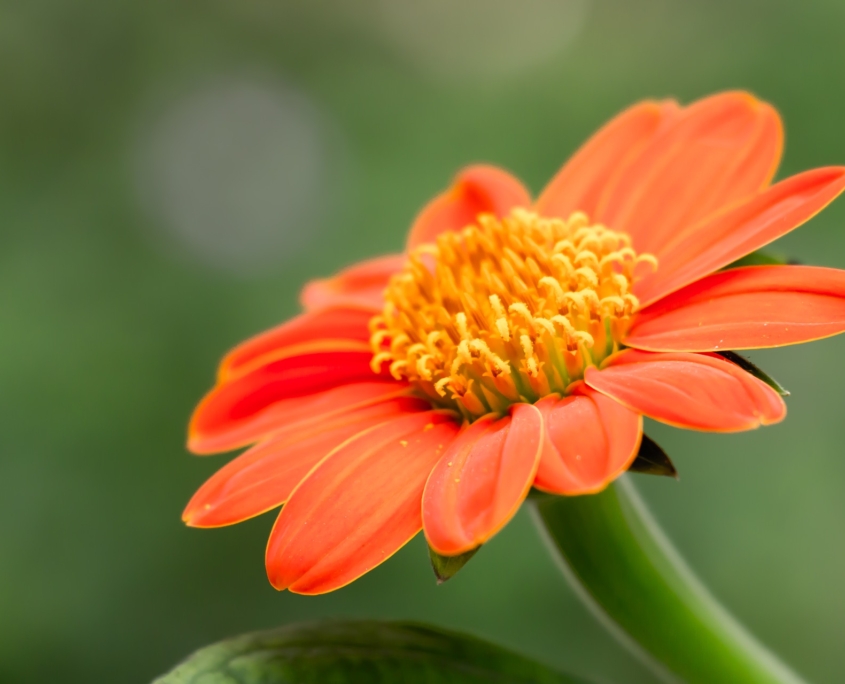
Close up photo of an orange Mexican Sunflower blossom.

photo courtesy of pixabay – impradip

Mexican Sunflower, Tithonia rotundafolia is a must for the butterfly garden and is a favorite of our beloved monarch butterfly. This 4-6’ tall annual (perennial in USDA zones10-11) is covered in vibrant orange flowers the monarchs can’t resist. But it’s not only a favorite of monarch butterflies. Mexican Sunflower is also equally adored by many other butterfly species including painted ladies, fritillaries, eastern tiger swallowtails, giant swallowtails and more. Honeybees, bumblebees and hummingbirds flock to these nectar-rich flowers as well.

Mexican Sunflowers are easy to grow. Plant seeds indoors 1-2 months before your average last frost date or directly in the garden in late spring when the soil has warmed. Once germinated, these plants take off reaching heights of 4-6’ by 3-4’ wide so place them in the back of the border. Staking these tall plants helps to avoid any toppling over. The vibrant orange blooms appear mid-summer and last until the first frost. Deadheading every 2-3 days ensures continual bloom, equaling more visitors. Mexican sunflowers make great cut flowers too and are easy to grow in containers. Don’t leave this beauty out of your pollinator garden.

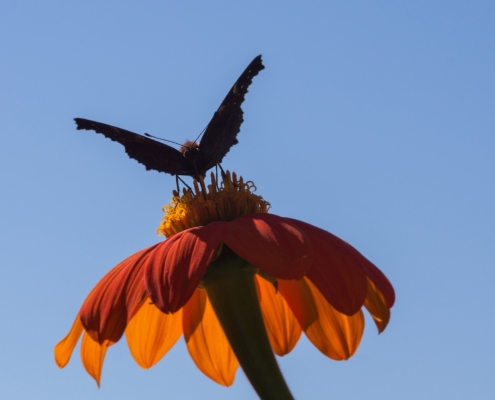
Mexican Sunflower blossom against blue sky.

photo courtesy of pixabay-4924546


Check out this cool video of Monarch butterflies enjoying the blossoms of Mexican Sunflower.

https://www.facebook.com/MonarchButterflyGarden/videos/895905987113736/