AN EASY WINDOWSILL HERB GARDEN
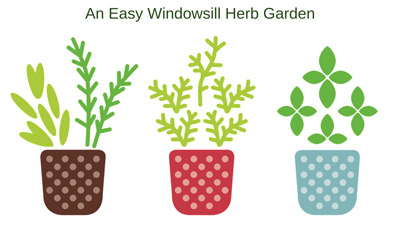
photo courtesy of pixabay
At Home Gardening Tips
by Heather Stone
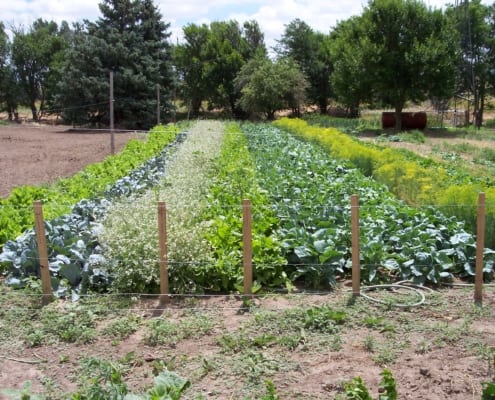
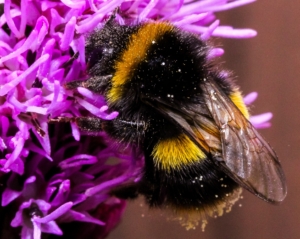
Are you are itching to get your hands in the dirt, but outside the ground is covered in snow? Well, a windowsill herb garden might be just the thing to get you through until spring finally arrives. Every kitchen and every cook deserves fresh herbs. They will help liven up not only your cooking but your gardening spirit too. Check out our herb collections here and here!
To get started make sure you have a sunny windowsill that gets at least 6 hours of sunlight. If you get less than that you will want to provide some additional lightening or your herbs will struggle.
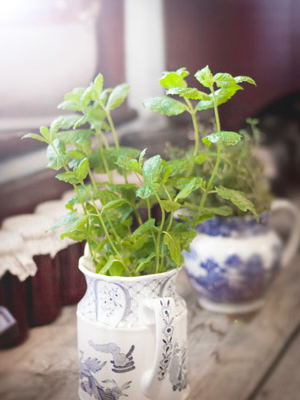
photo courtesy of pixabay
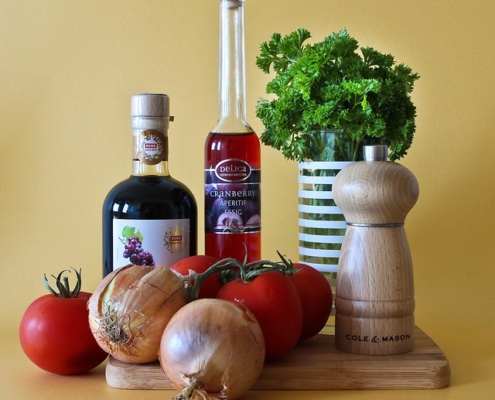
Next, purchase some small starter plants from your local nursery or garden center or try starting your herbs from seed. Starting from seed may take a little longer, but it’s less expensive. When choosing plants or seeds pick herbs you know you like to cook with. Some great herbs for containers include thyme, basil, cilantro, parsley, chives, oregano, dill, sage, mint and savory.
Whether you are purchasing plants or starting from seed you will need containers and quality, lightweight potting mix. If you are starting with plants make sure your container(s) have a drainage hole(s) and are roughly 6-10” in diameter. Start by adding some potting mix to the bottom of your container. Next, place your plant in the pot and gently fill in and around it with more potting mix, leaving around an inch of room at the top for watering. Gently press the soil down and water well. Most herbs don’t like their soil too wet so make sure to test your new herb plants for water by sticking your finger an inch or two below the soil surface. If you find the soil is dry, it’s time to water. Fertilize your new herb garden once a month with a ½ strength liquid fertilizer. Be sure to give your plants some time to get established before you start harvesting.
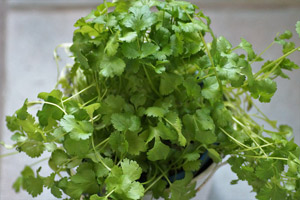
photo courtesy of pixabay
If you are starting from seed, you can plant in smaller containers to start and pot up as your plants get bigger. Fill your containers with a damp potting mix. Sprinkle 4-6 seeds on top of the surface. Gently press them in and cover lightly with more potting mix. Cover with a plastic bag or plastic wrap and place them in a warm, sunny windowsill making sure the soil surface stays moist. Once your seeds start to sprout, remove the plastic. Keep your new sprouts watered whenever the soil surface feels dry and watch them grow.
Here are some herbs that are easy to start from seed:
Basil
The dried version is no comparison to fresh basil. With so many uses and so many varieties to choose from basil is an easy choice for the indoor herb garden.
Cilantro
Cilantro is easy to start from seed and germinates in 7-14 days. Use the fresh leaves in salads, sauces and to garnish a wide array of dishes.
Parsley
Parsley is both productive and attractive when container-grown. It takes a bit longer to germinate, 12-28 days, but it’s worth the wait. Harvest leaves as you need them once the plant is growing strong.
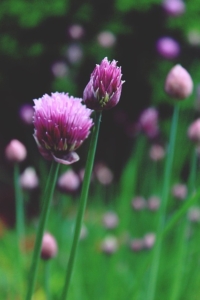
Chives
Chives are another plant easily grown in a pot. The slender grass-like leaves are delicious and make an excellent flavoring in soups, stews, dips and salads. Sprouting in just 10-14 days you will have fresh chives in no time.