Save the Pollinators
Pollinators are the magic ingredient that makes our natural world work. They fuel lifecycles of entire ecosystems and are found everywhere flowering plants are. Humans are also incredibly dependent on pollinators. Pollinators come in all shapes and sizes. Honeybees, native bees, bumblebees, butterflies, birds, bats, and other wild critters are all incredibly important pollinators!
Unfortunately, we are losing our pollinators at an alarming rate. Insect pollinators are being hit especially hard. Habitat loss, exposure to pesticides, lack of food, and diseases are all leading factors in the decline of these species. We should all be concerned. One-third of our food, from coffee to strawberries, are dependent on pollinators to produce. We need these animals just as much as they need us.
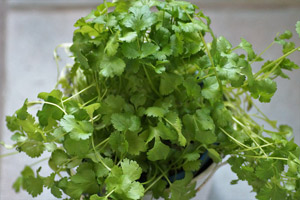
We take our favorite wildflower seeds and blend them into pollinator seed mixes specially formulated to help create habitat and forage for the pollinators in your backyard. We make sure to use fresh, high quality, open-pollinated, GMO-free seeds because you deserve to have a successful, healthy, and fun planting experience. Our mixes are all seed with none of the fillers that you might find in other mixes because we believe you should get what you’re paying for.
Click here if you have any questions about how to select your site, plant, or care for our wildflower mixes!
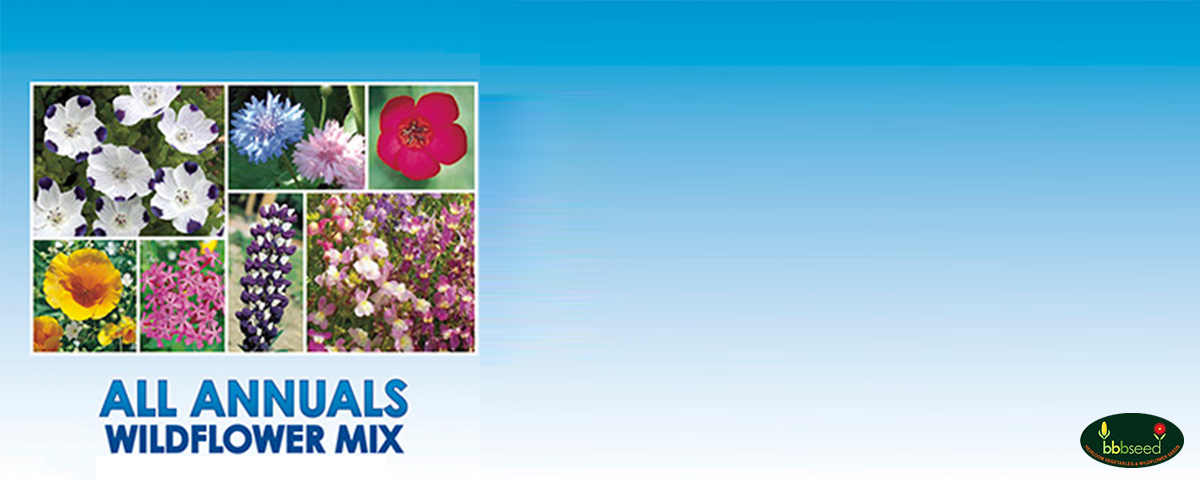
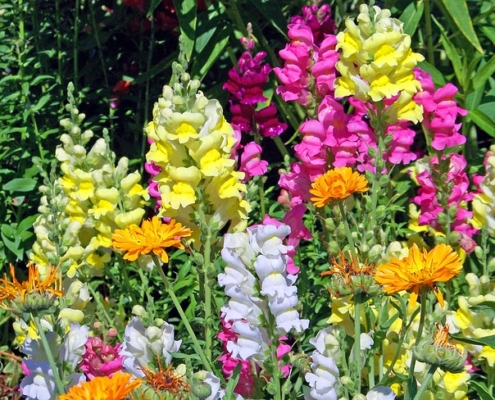
Here are our 5 most popular pollinator seed mixes:
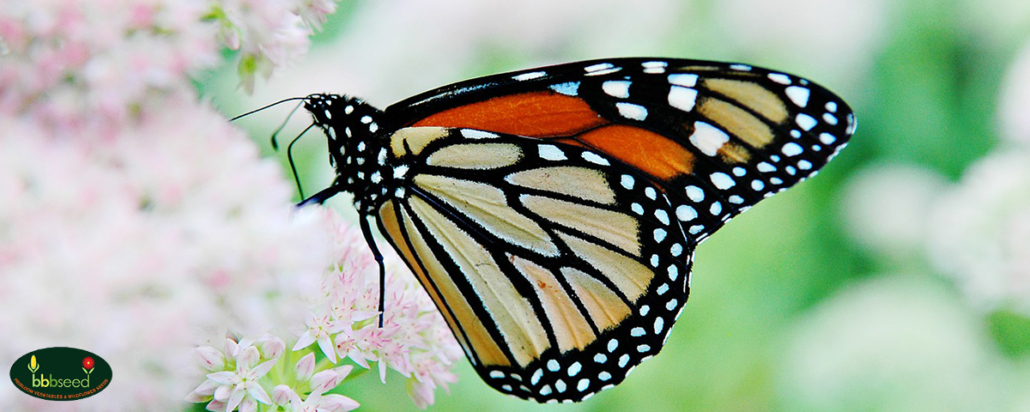
Monarch Butterflies are some of the most wonderful and strange animals on Earth. Every year, they migrate between the high mountains of Mexico through most of North America. This migration takes four separate generations of butterflies to complete and covers a massive amount of territory. To complete this migration, the Monarchs need plenty of forage and nesting sites along the way.
However, habitat and forage loss has been devastating for the Monarch Butterfly. Milkweed plants are the only plants that Monarch Butterflies will lay their eggs on. These plants have been wiped out of large portions of the United States due to concerns about allergies and their designation as a “weed”. Habitat loss and pesticide use have also reduced the amount of good forage for Monarchs, weakening them too much to complete their journey.
This is why we created our Monarch Rescue Wildflower Mix. This mix of Milkweeds and wildflowers is a Monarch Butterfly booster shot. This mix is full of nutrition and habitat for the butterflies passing through your area. Make your garden a Monarch paradise with this mix.
Find it here.
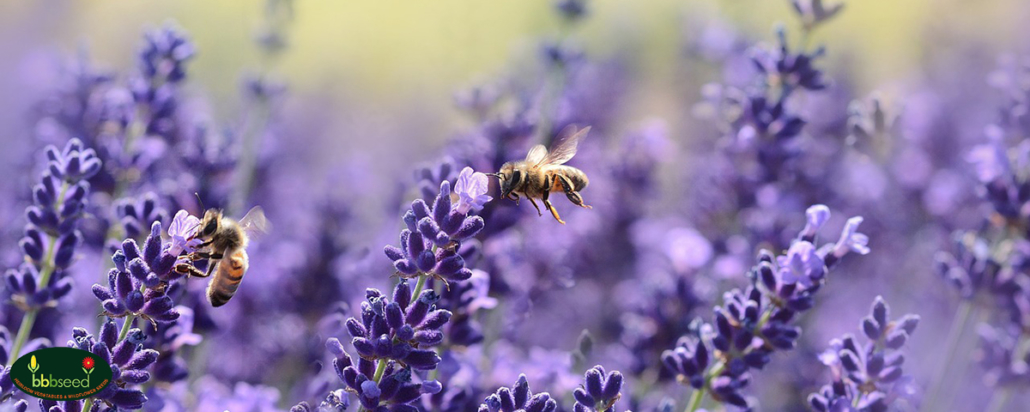
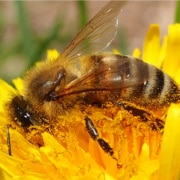
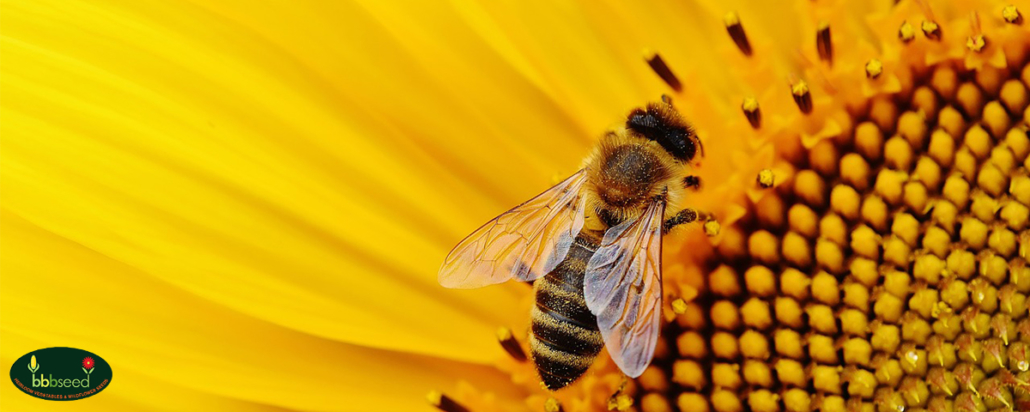
Bees have had a rough time of late. The incredible loss of honey bees in recent years has been well documented and reported on. However, the crisis is much deeper than just honey bees. North America has over 4,000 species of native bees. Most native bees are solitary and are extremely effective pollinators. However, these little bees are little understood and are in even more danger than honey bees because they don’t have beekeepers watching out for them!
This colorful combination of wildflowers will provide nectar and pollen for full season support of native and introduced bee species. Our “Bee Rescue” Wildflower mix has been designed to include the absolute best species to support the health and vitality for a wide range of native pollinators as well and the honey bee. This is one of our best selling pollinator seed mixes! These are the flowers that attract the most pollinators and will do well over the most growing zones.
Get our Bee Rescue Wildflower Mix here!
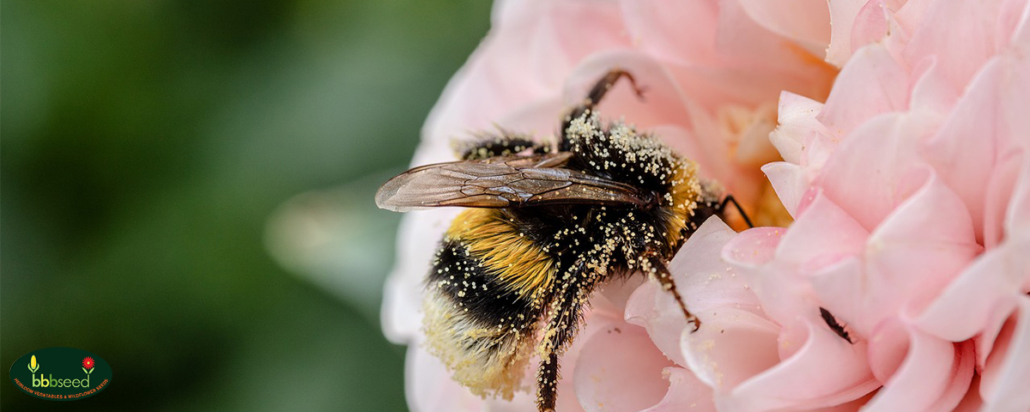
Bumblebee Bonanza Mix is a colorful mix that includes specially selected species of nectar and pollen-rich, annual and perennial flowers that are known to attract bumblebees and other pollinators and will provide quality forage from early spring until late fall.
This mixture of annuals and perennials is designed to provide early, mid and late season blooms to support the life cycle of the bumblebee as well as other pollinators. These flower species will do well in a variety of growing conditions and are recommended for a maintained, home-garden planting or commercial landscape. The best time for planting this mix is in the early spring, early summer and late fall.
Buy the Bumblebee Bonanza Mix Here!
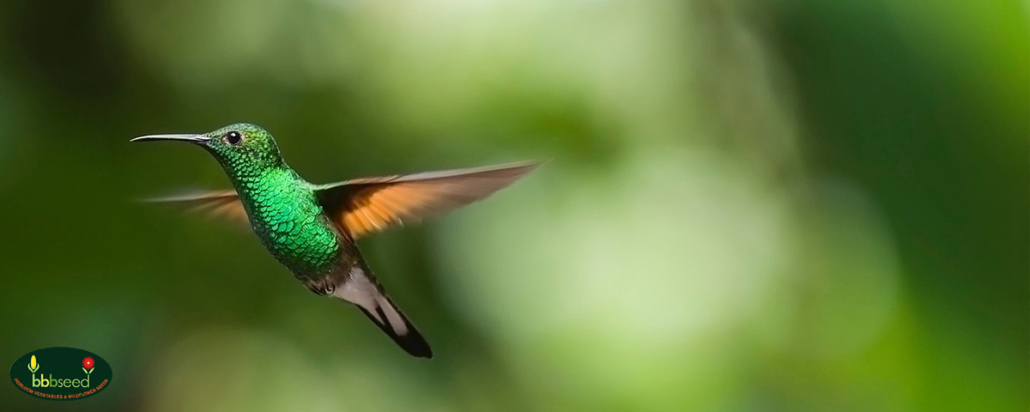
This mix has been created with the vibrantly colored, nectar-rich species that hummingbirds love. Consisting of mostly perennials, this mix will continue to provide support to hummingbirds and other important pollinators. A few annuals are included to provide color the first year while the perennials become established and will bloom the second year.
Get it here and start enjoying your hummingbird garden!
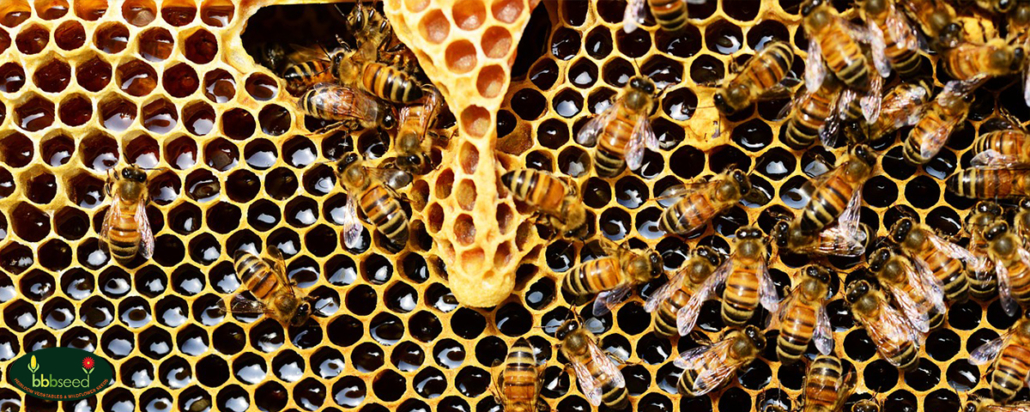
A long blooming mix of beautiful, nectar and pollen-rich annuals and perennials put together just for our Honey Bee friends. Plant this mix to provide vital nutrition for the European Honey Bees. These hard-working pollinators are necessary for our agricultural production and are a major contributor to our food supply. Lack of native nectar and pollen sources between crop rotations can cause stress and starvation that contribute to colony collapse.
Our Honey Source Wildflower Mix can be found here!
One Last Thing
At BBB Seed, we are deeply committed to providing the highest quality grass, wildflower, and grass seeds to empower our customers to get out and grow! This list of our 5 most popular pollinator seed mixes is intended to be a useful resource for you to see what products our customers and we are enjoying right now!
We also are incredibly concerned about providing sustainable and environmentally conscious products to you. We source seeds that are non-genetically engineered, tested, and grown sustainably. We hope these products will help you enjoy nature and learn about this wonderful world in the garden. We strongly encourage you to visit our Pollinator Action Page or The Bee Conservancy to learn about the pollinators that make our natural world possible and learn more about what you can do to help them. Thank you!
Grow. Enjoy. Share…the beauty and the bounty!