Gardens at Monticello
What We Gardeners Have in Common with Thomas Jefferson
by Sandy Swegel
This Presidents’ Day led me to researching about the gardens of the White House. I expected to write about the many “heirlooms” that Jefferson gathered and preserved for us. He grew 330 varieties of vegetables and 170 varieties of fruit! I found myself instead captivated by the gardening relationship he shared with his oldest granddaughter Ann. His letters to the teenager Ann have been preserved and give us great insight into these talented gardeners.
There isn’t much about gardening that has changed much since the early 19th century. These are some of the things we know we have in common with the third US President and his granddaughter Ann.
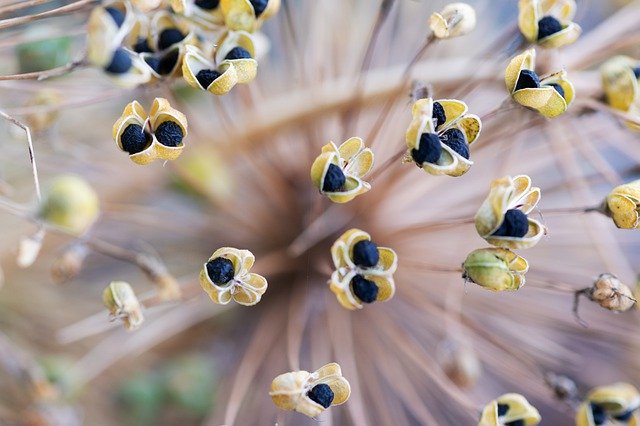
We all want more flowers.
Jefferson was famous for collecting seeds from distant lands in order to grow more varieties at home. He quickly saw the natural consequence of his love of variety — running out of garden space — for he writes Anne in 1806:
“I find that the limited number of our flower beds will too much restrain the variety of flowers in which we might wish to indulge, and therefore I have resumed an idea…of a winding walk surrounding the lawn before the house, with a narrow border of flowers on each side.”
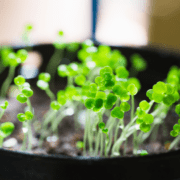
We know how to care for young plants.
In this late winter time of year, we gardeners always start too many young plants too early to actually plant and then have to prepare for their movement from my sunny light shelf to the cold outdoors. Ann too reports how careful she was with the many treasures her grandfather sent her in the winter of 1806.
“The grass, fowls, and flowers arrived safely on Monday afternoon. I planted the former in a box of rich earth and covered it for a few nights until I thought it had taken root and then by degrees, for fear of rendering it too delicate, exposed it again. I shall plant Governor Lewis’s peas as soon as the danger of frost is over.”
We watch the weather
When Ann was only 12 years old, Jefferson in the White House relied on her to report on the weather and its effects on the garden. “How stands the fruit with you in the neighborhood and at Monticello, and particularly the peas, as they are what will be in season when I come home. The figs also, have they been hurt?
We are never finished.
After Jefferson retired to Monticello, he and Ann continued to design and redesign the gardens. Ann’s younger sister Ellen described the delight the garden gave the entire family.
. . . Then when the flowers were in bloom, and we were in ecstasies over the rich purple and crimson, or pure white, or delicate lilac, or pale yellow of the blossoms, how he would sympathize in our admiration, or discuss with my mother and elder sister new groupings and combinations and contrasts. Oh, these were happy moments for us and for him!”
Jefferson on Happiness
Jefferson planned many years for his retirement to Monticello. When at last he was able to retire to the gardens Ann had nurtured in his absence, he wrote:
“the total change of occupation from the house & writing-table to constant employment in the garden & farm has added wonderfully to my happiness. it is seldom & with great reluctance I ever take up a pen. I read some, but not much.”
Fortunately for us as a nation, most of his life was not spent in the garden, but he knew, as we do, how special and sacred our gardens are.
The story of Monticello with 330 varieties of vegetables and 170 of fruit is a grand story. You can find out more here: https://www.monticello.org/site/house-and-gardens/thomas-jeffersons-legacy-gardening-and-food
Photocredit
https://flowergardengirl.wordpress.com
http://www.marthastewart.com/945486/monticellos-vegetable-garden#933708
https://www.monticello.org