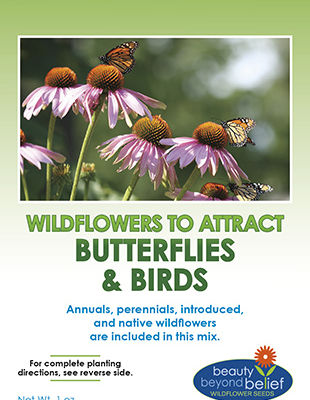
BBB Seed’s Wildflowers to Attract Butterflies and Birds
Wildflower Seeds
by Heather Stone
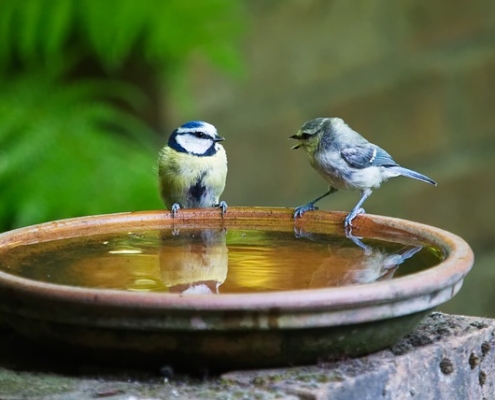
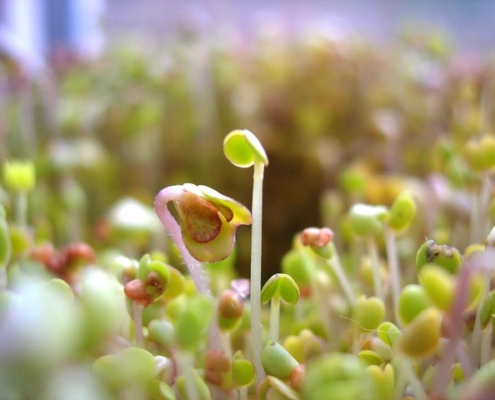
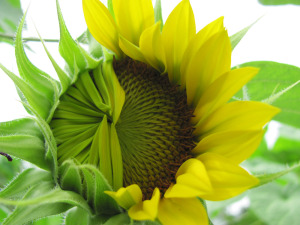
Photo courtesy of pixabay
It brings great pleasure to see more birds and butterflies about the garden and we as gardeners can do a lot to attract and protect the birds and butterflies that visit our garden. These critters simply need a safe place to live and healthy food to eat.
Butterflies
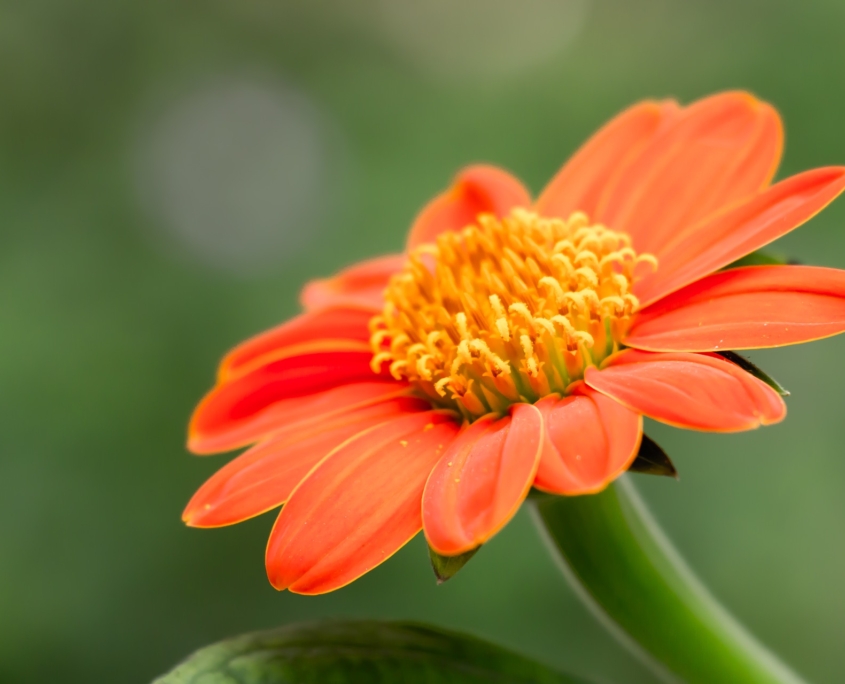
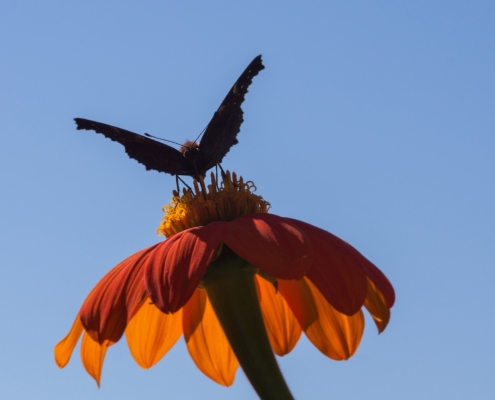
For butterflies, providing food (host plants) for caterpillars, nectar sources for adult butterflies and a safe place to overwinter can all be accomplished in a small area. Caterpillars of some species of butterflies have very specific larval host plants, while some will eat a wide range of species. Nectar is the primary food source for most adult butterflies. Planting nectar-rich plants in the garden is sure to attract more butterflies. Depending on the species, butterflies overwinter in all stages of life from egg to adult. Some places they overwinter include leaf litter, the bases of bunch grasses, rock piles, brush or wood piles, behind loose tree bark and near their host plants.
Birds
Just like butterflies birds need healthy food to eat and shelter. Start by planting native plants in your garden that provide seeds, berries, nuts and nectar. Shrubs and trees, especially evergreen species, provide excellent shelter and nesting sites for birds. Birds also need a year-round water source such as a bird bath. Providing nesting boxes and offering food in feeders will attract even more birds.
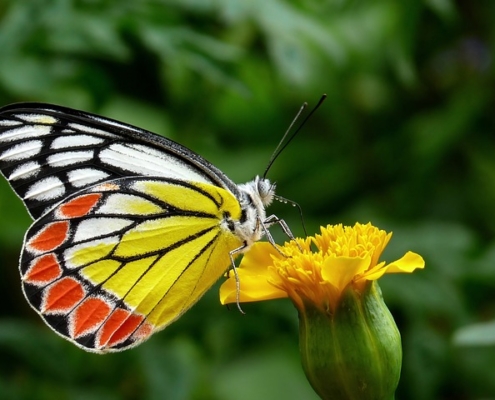
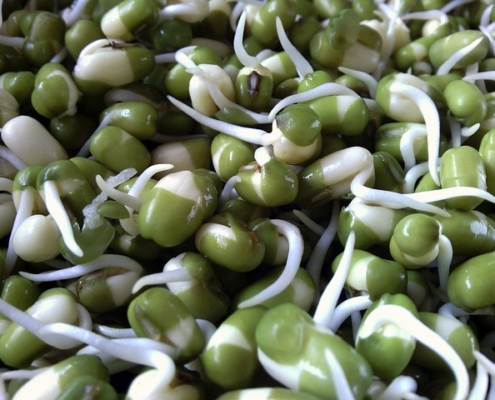
Photo courtesy of pixabay.
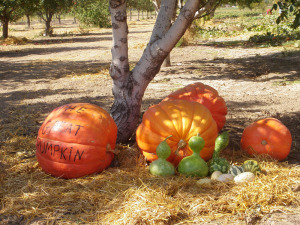
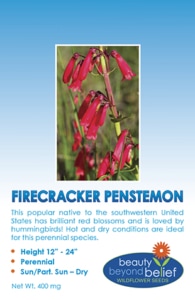
Try planting our Birds and Butterflies mix to attract more birds and butterflies to your landscape. The mixture of annuals, perennials, introduced and native wildflowers is designed to attract butterflies over a long season of bloom from spring until fall and a variety of birds to the seeds come autumn.
Sources: Gardening for Butterflies, The Xerces Society
https://www.nwf.org/sitecore/content/Home/Garden-for-Wildlife/Wildlife/Attracting-Birds